
Description
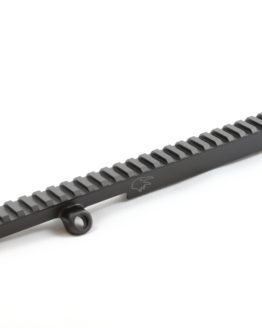
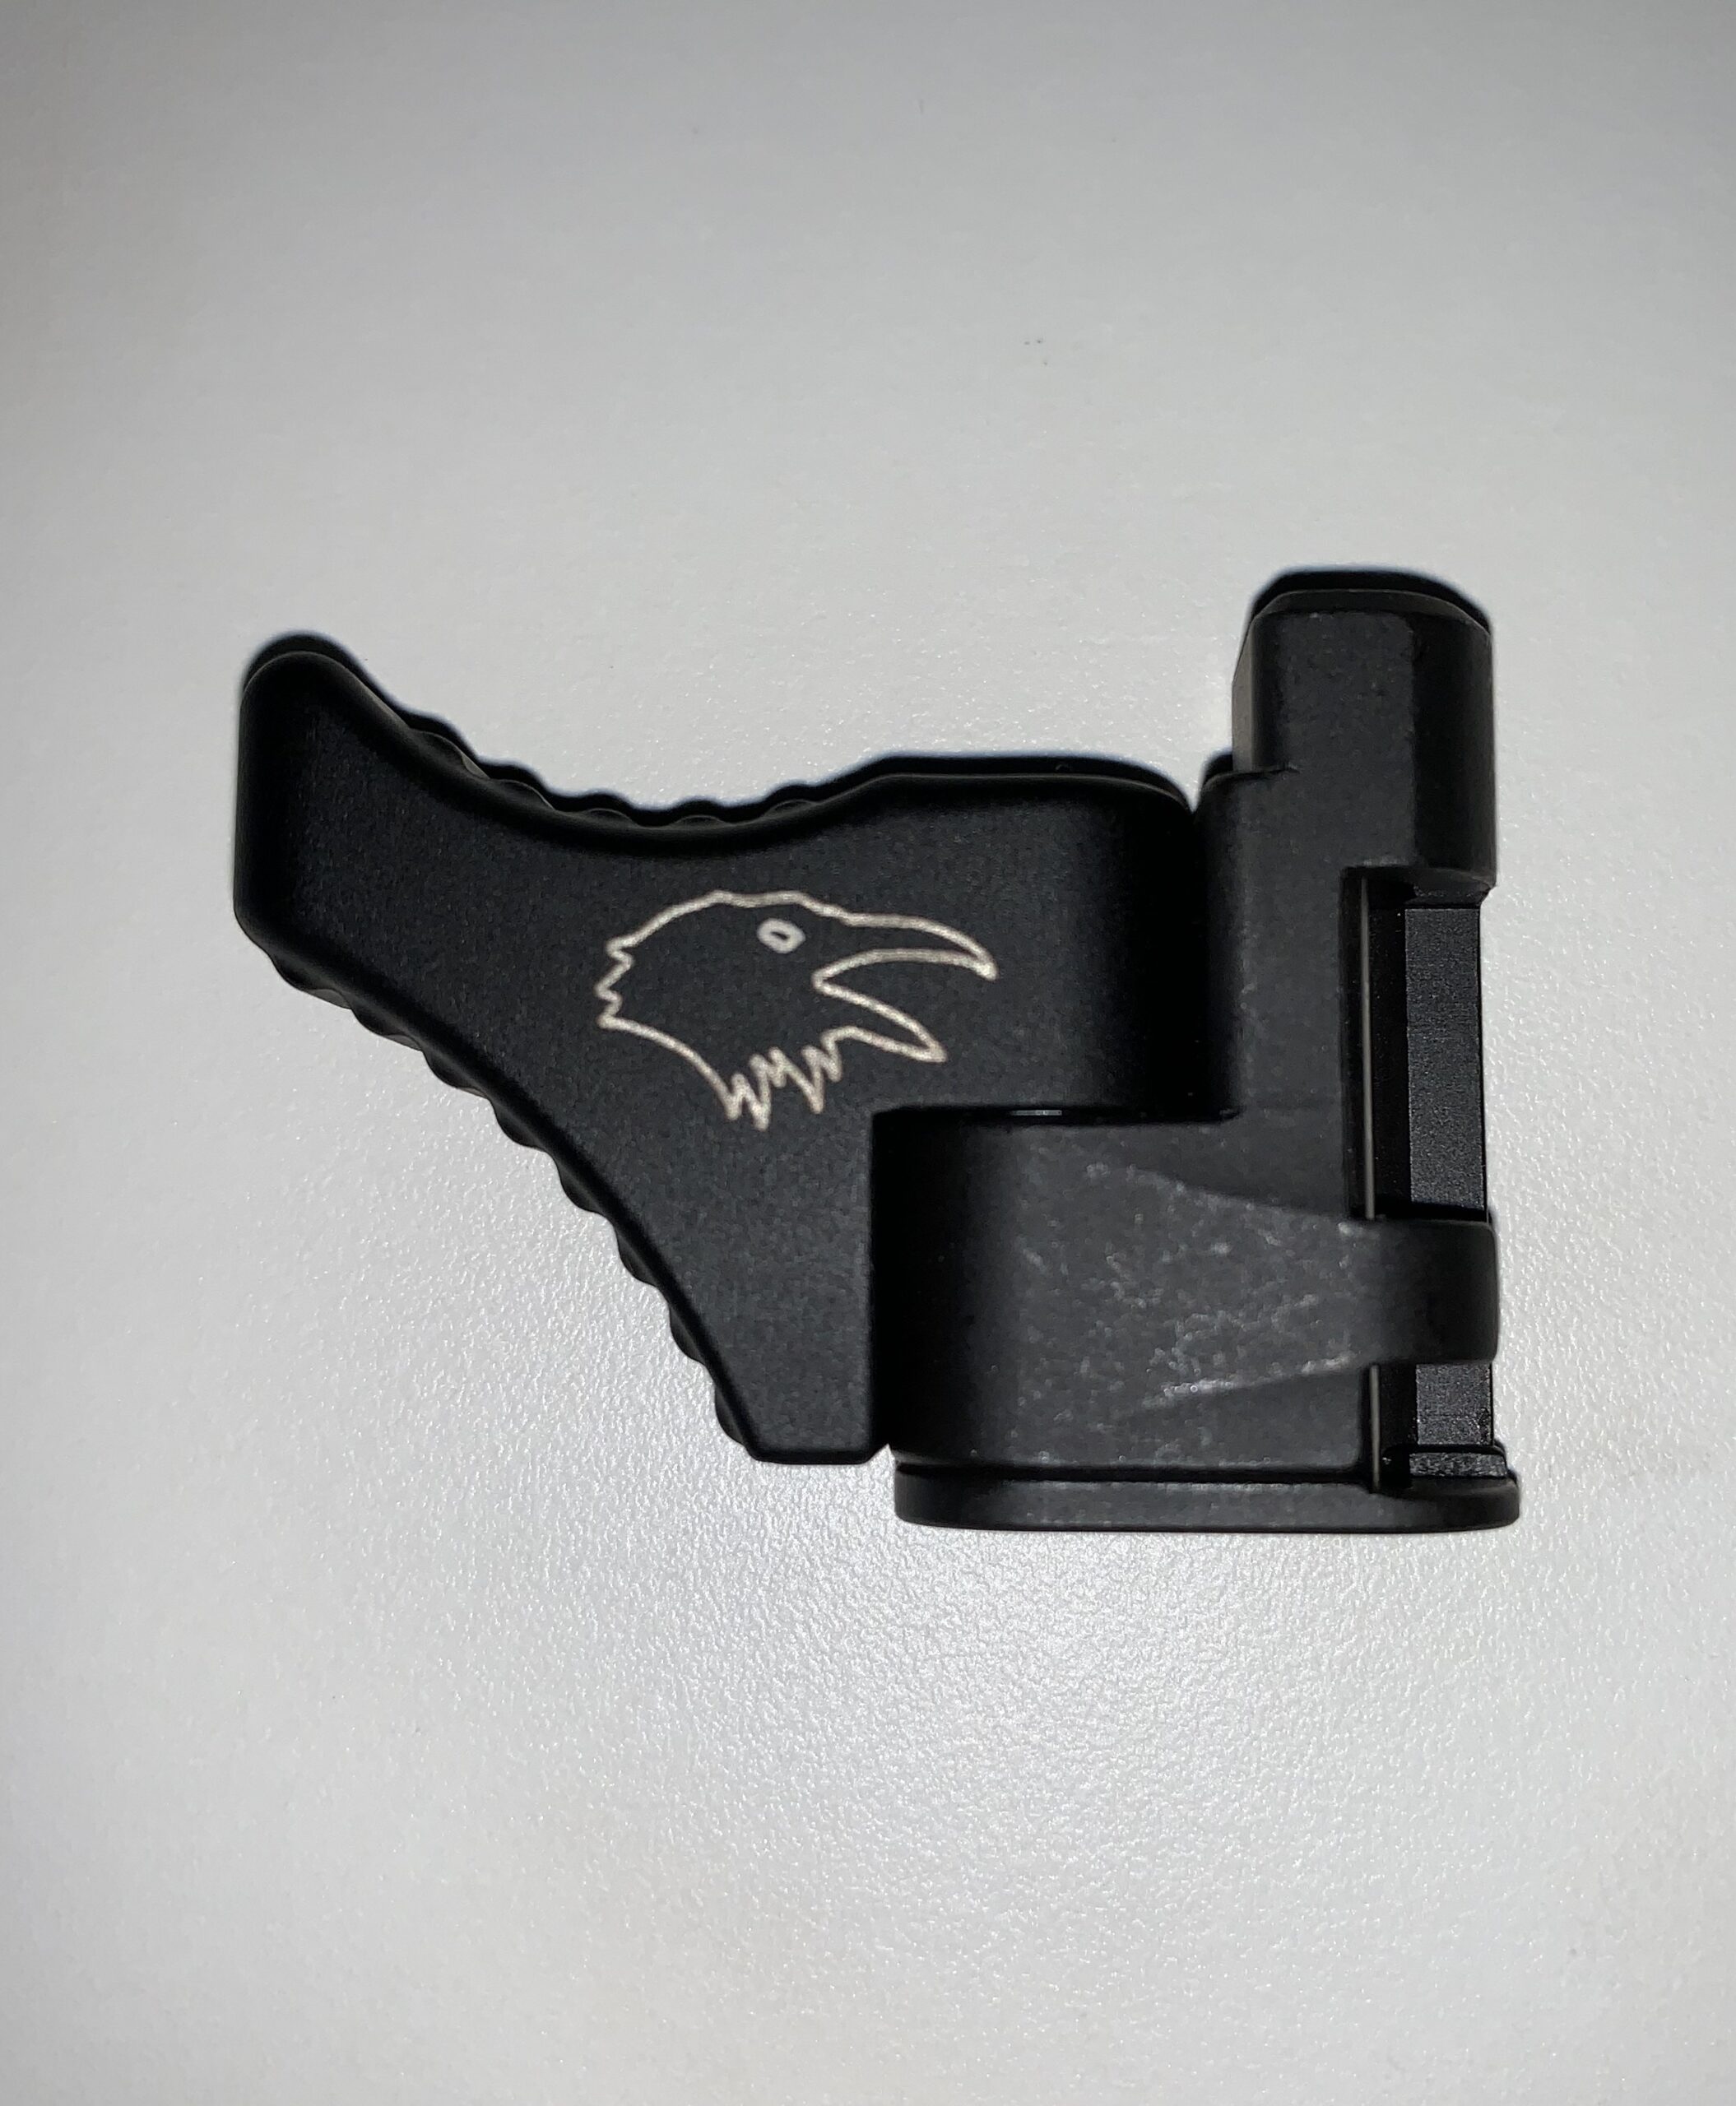
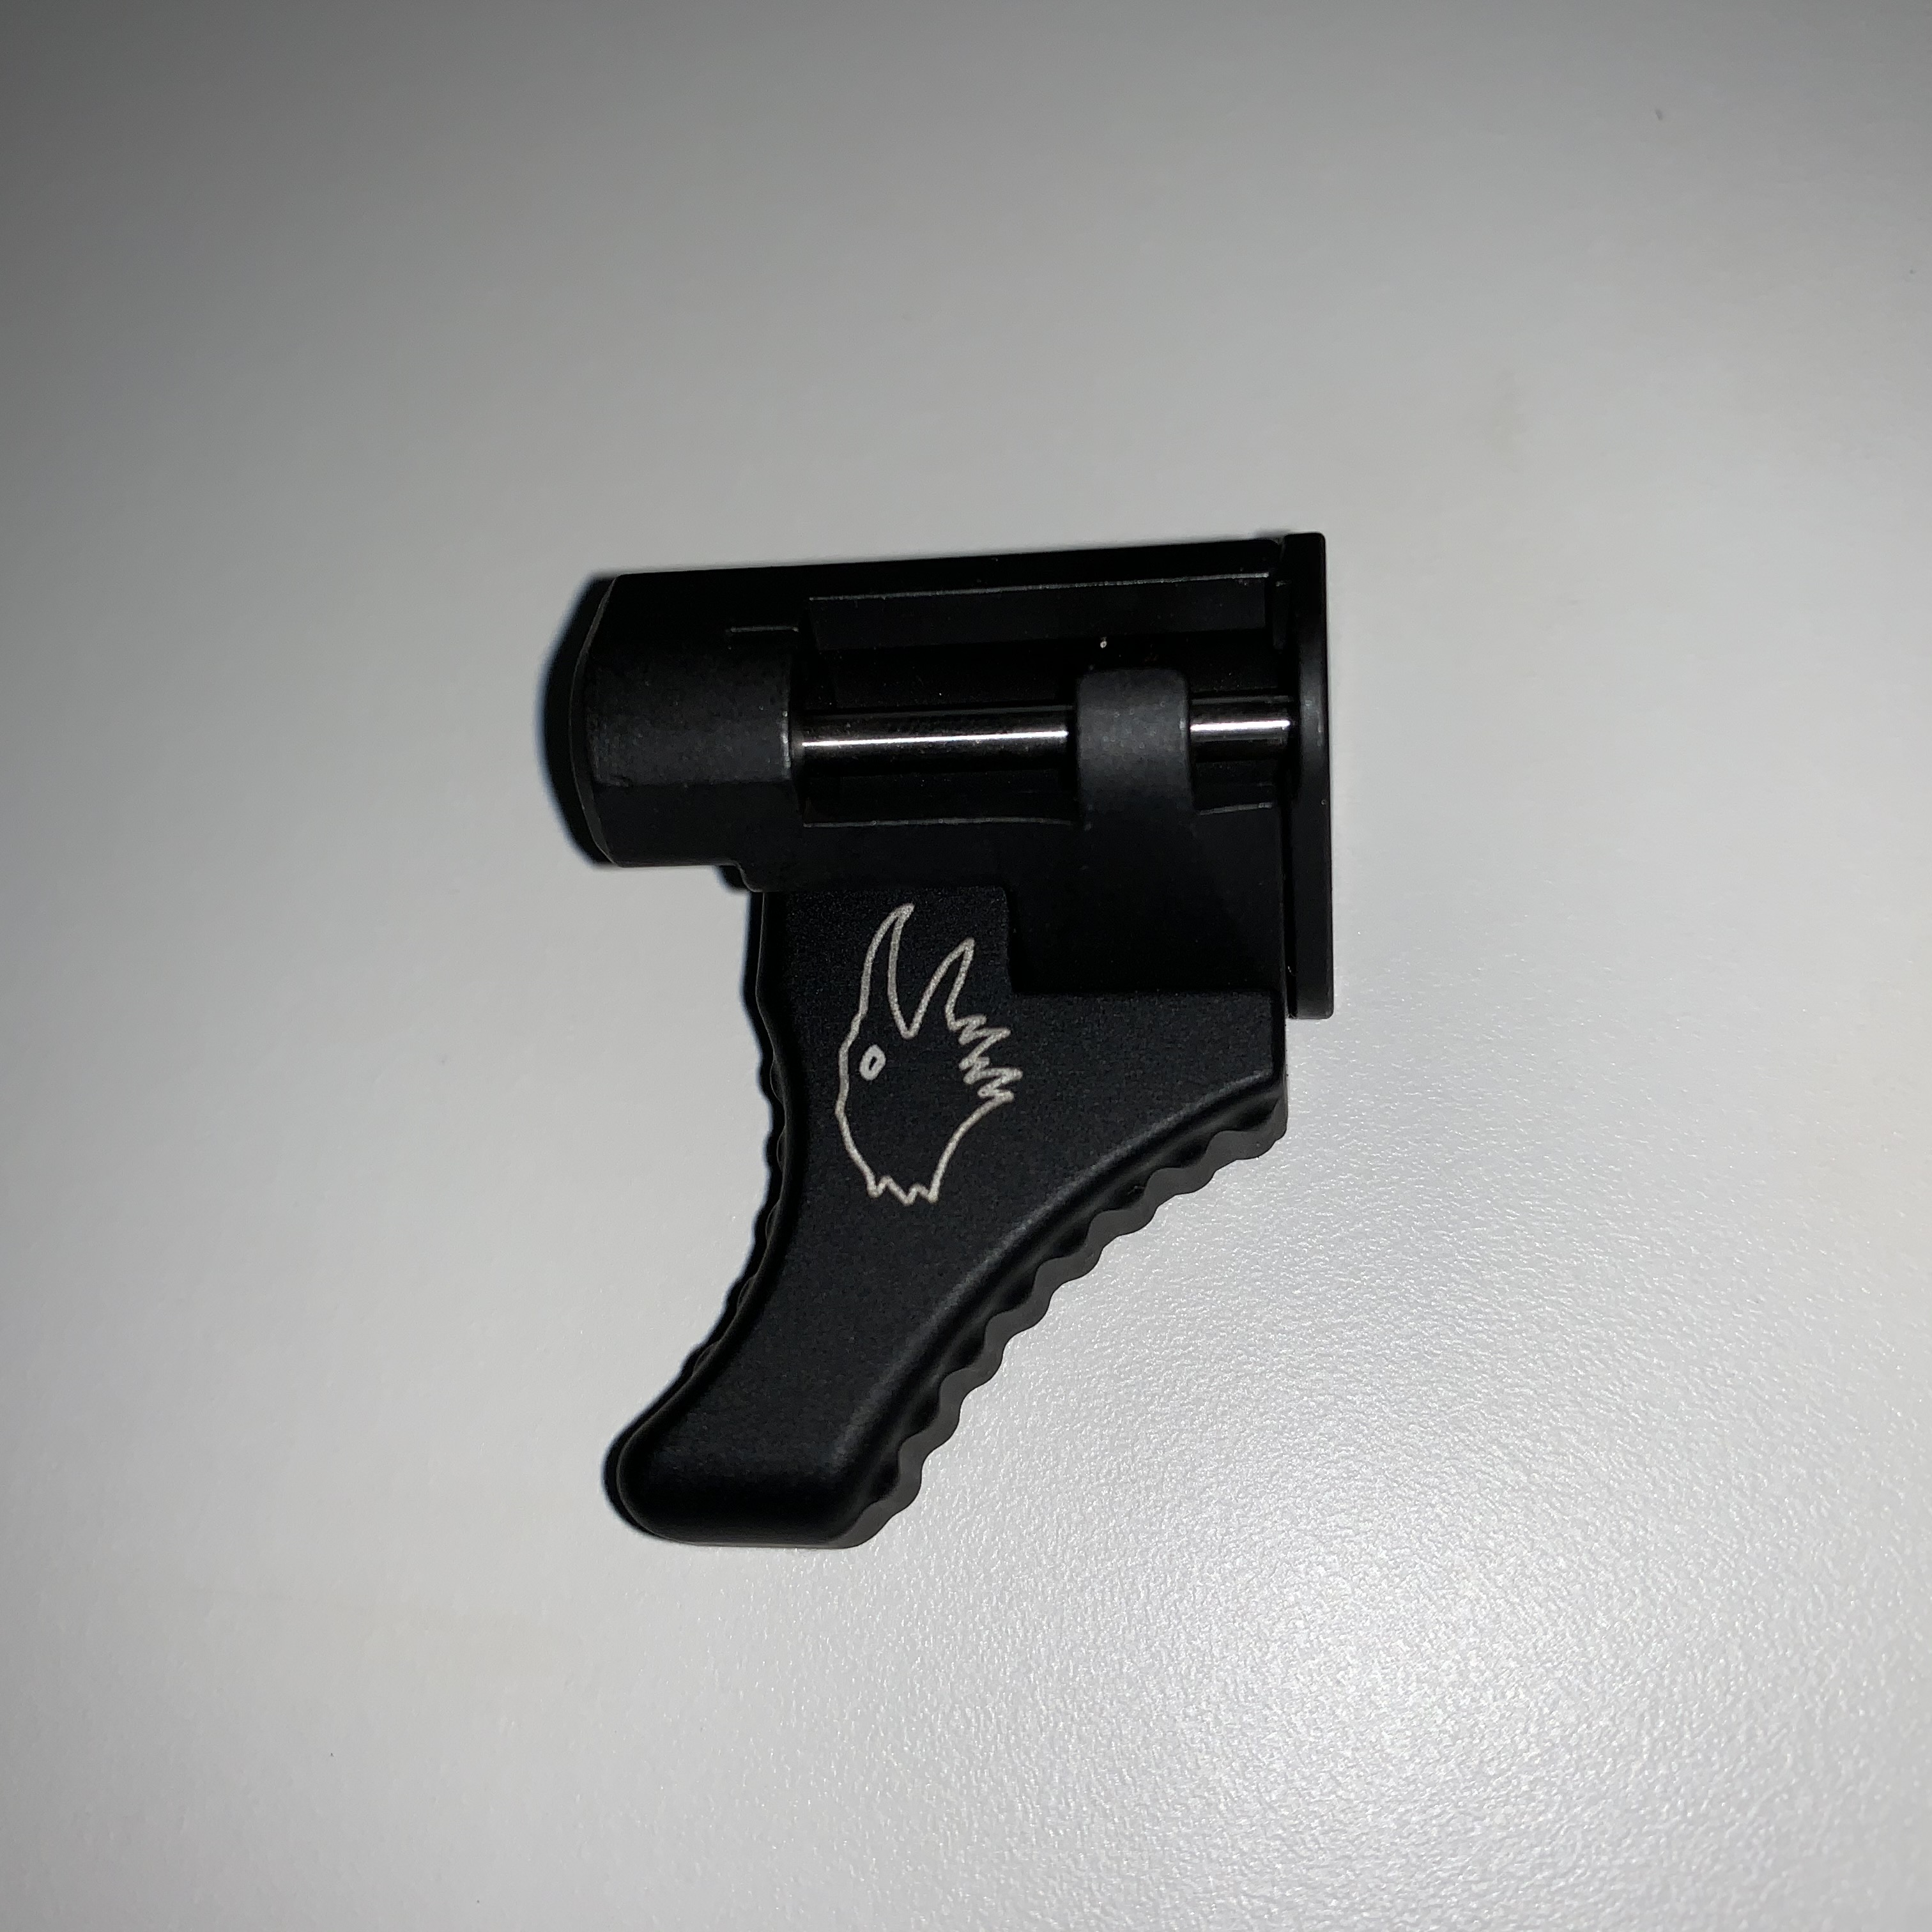
Corvus Defensio – Adjustable Charging Handle
Features:
- Replaces the original charging handle
- Fits Steyr AUG version A3, except A3 M2
- Supports faster and more reliable charging operations
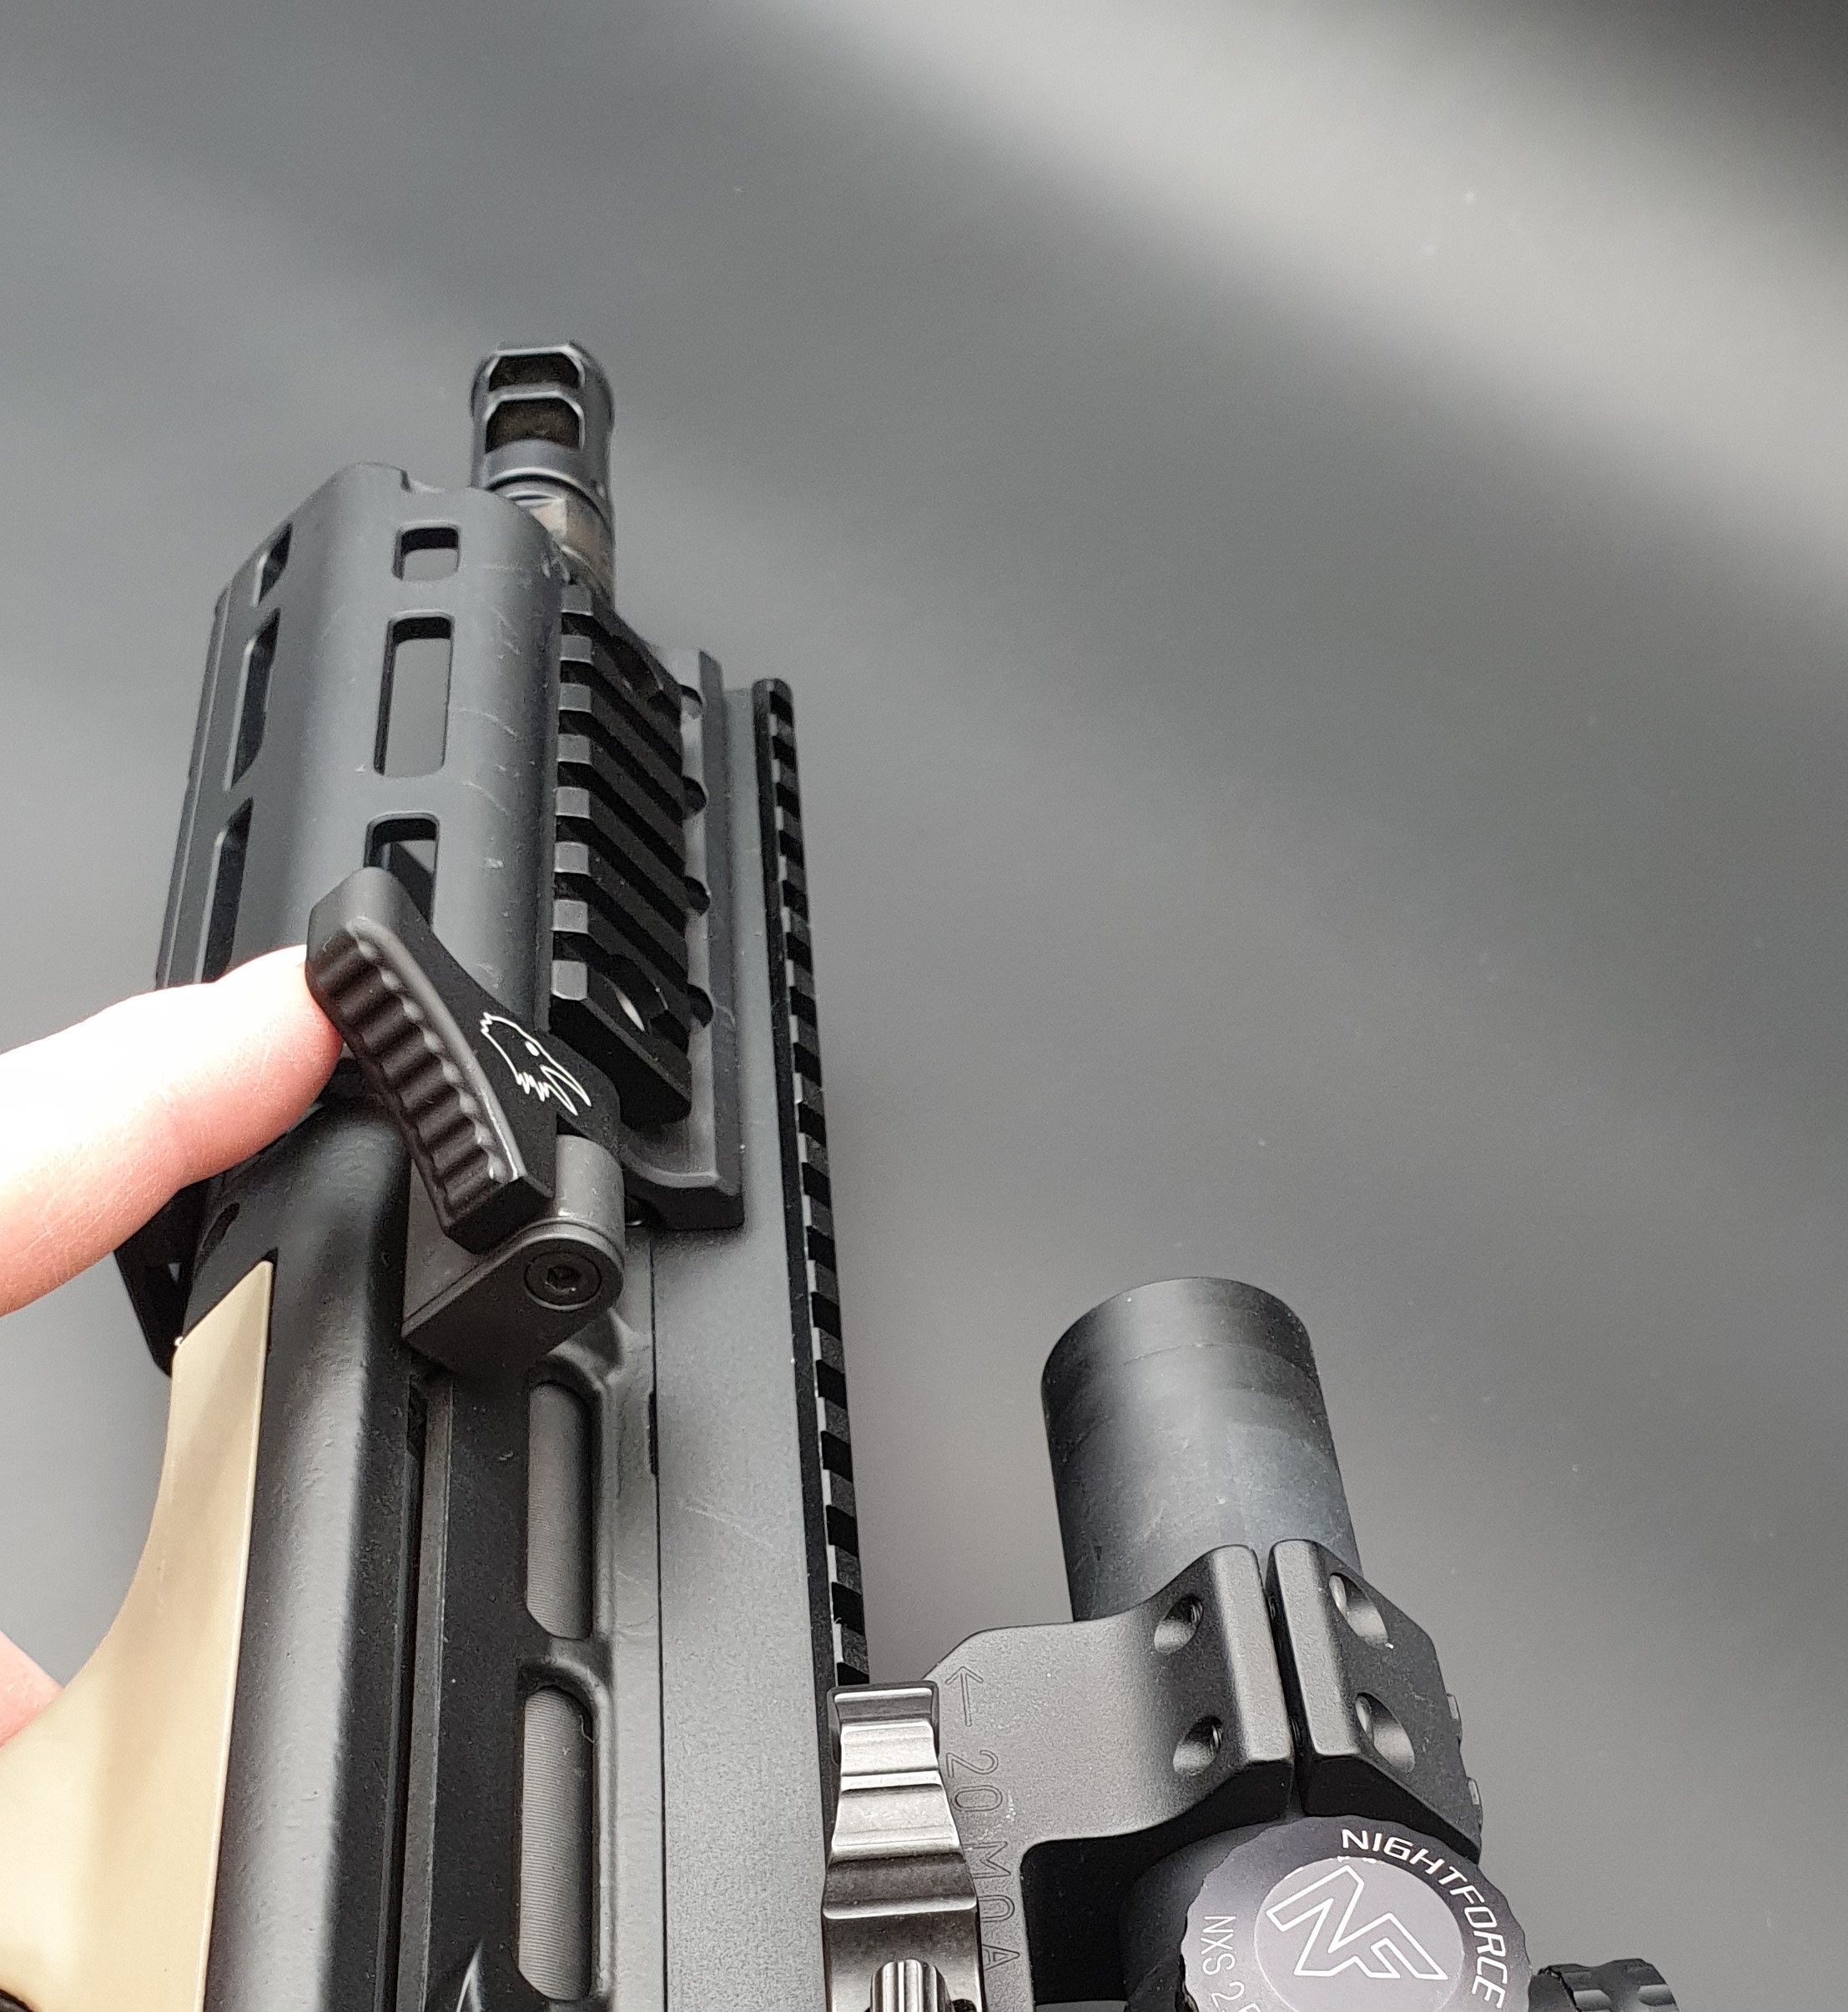
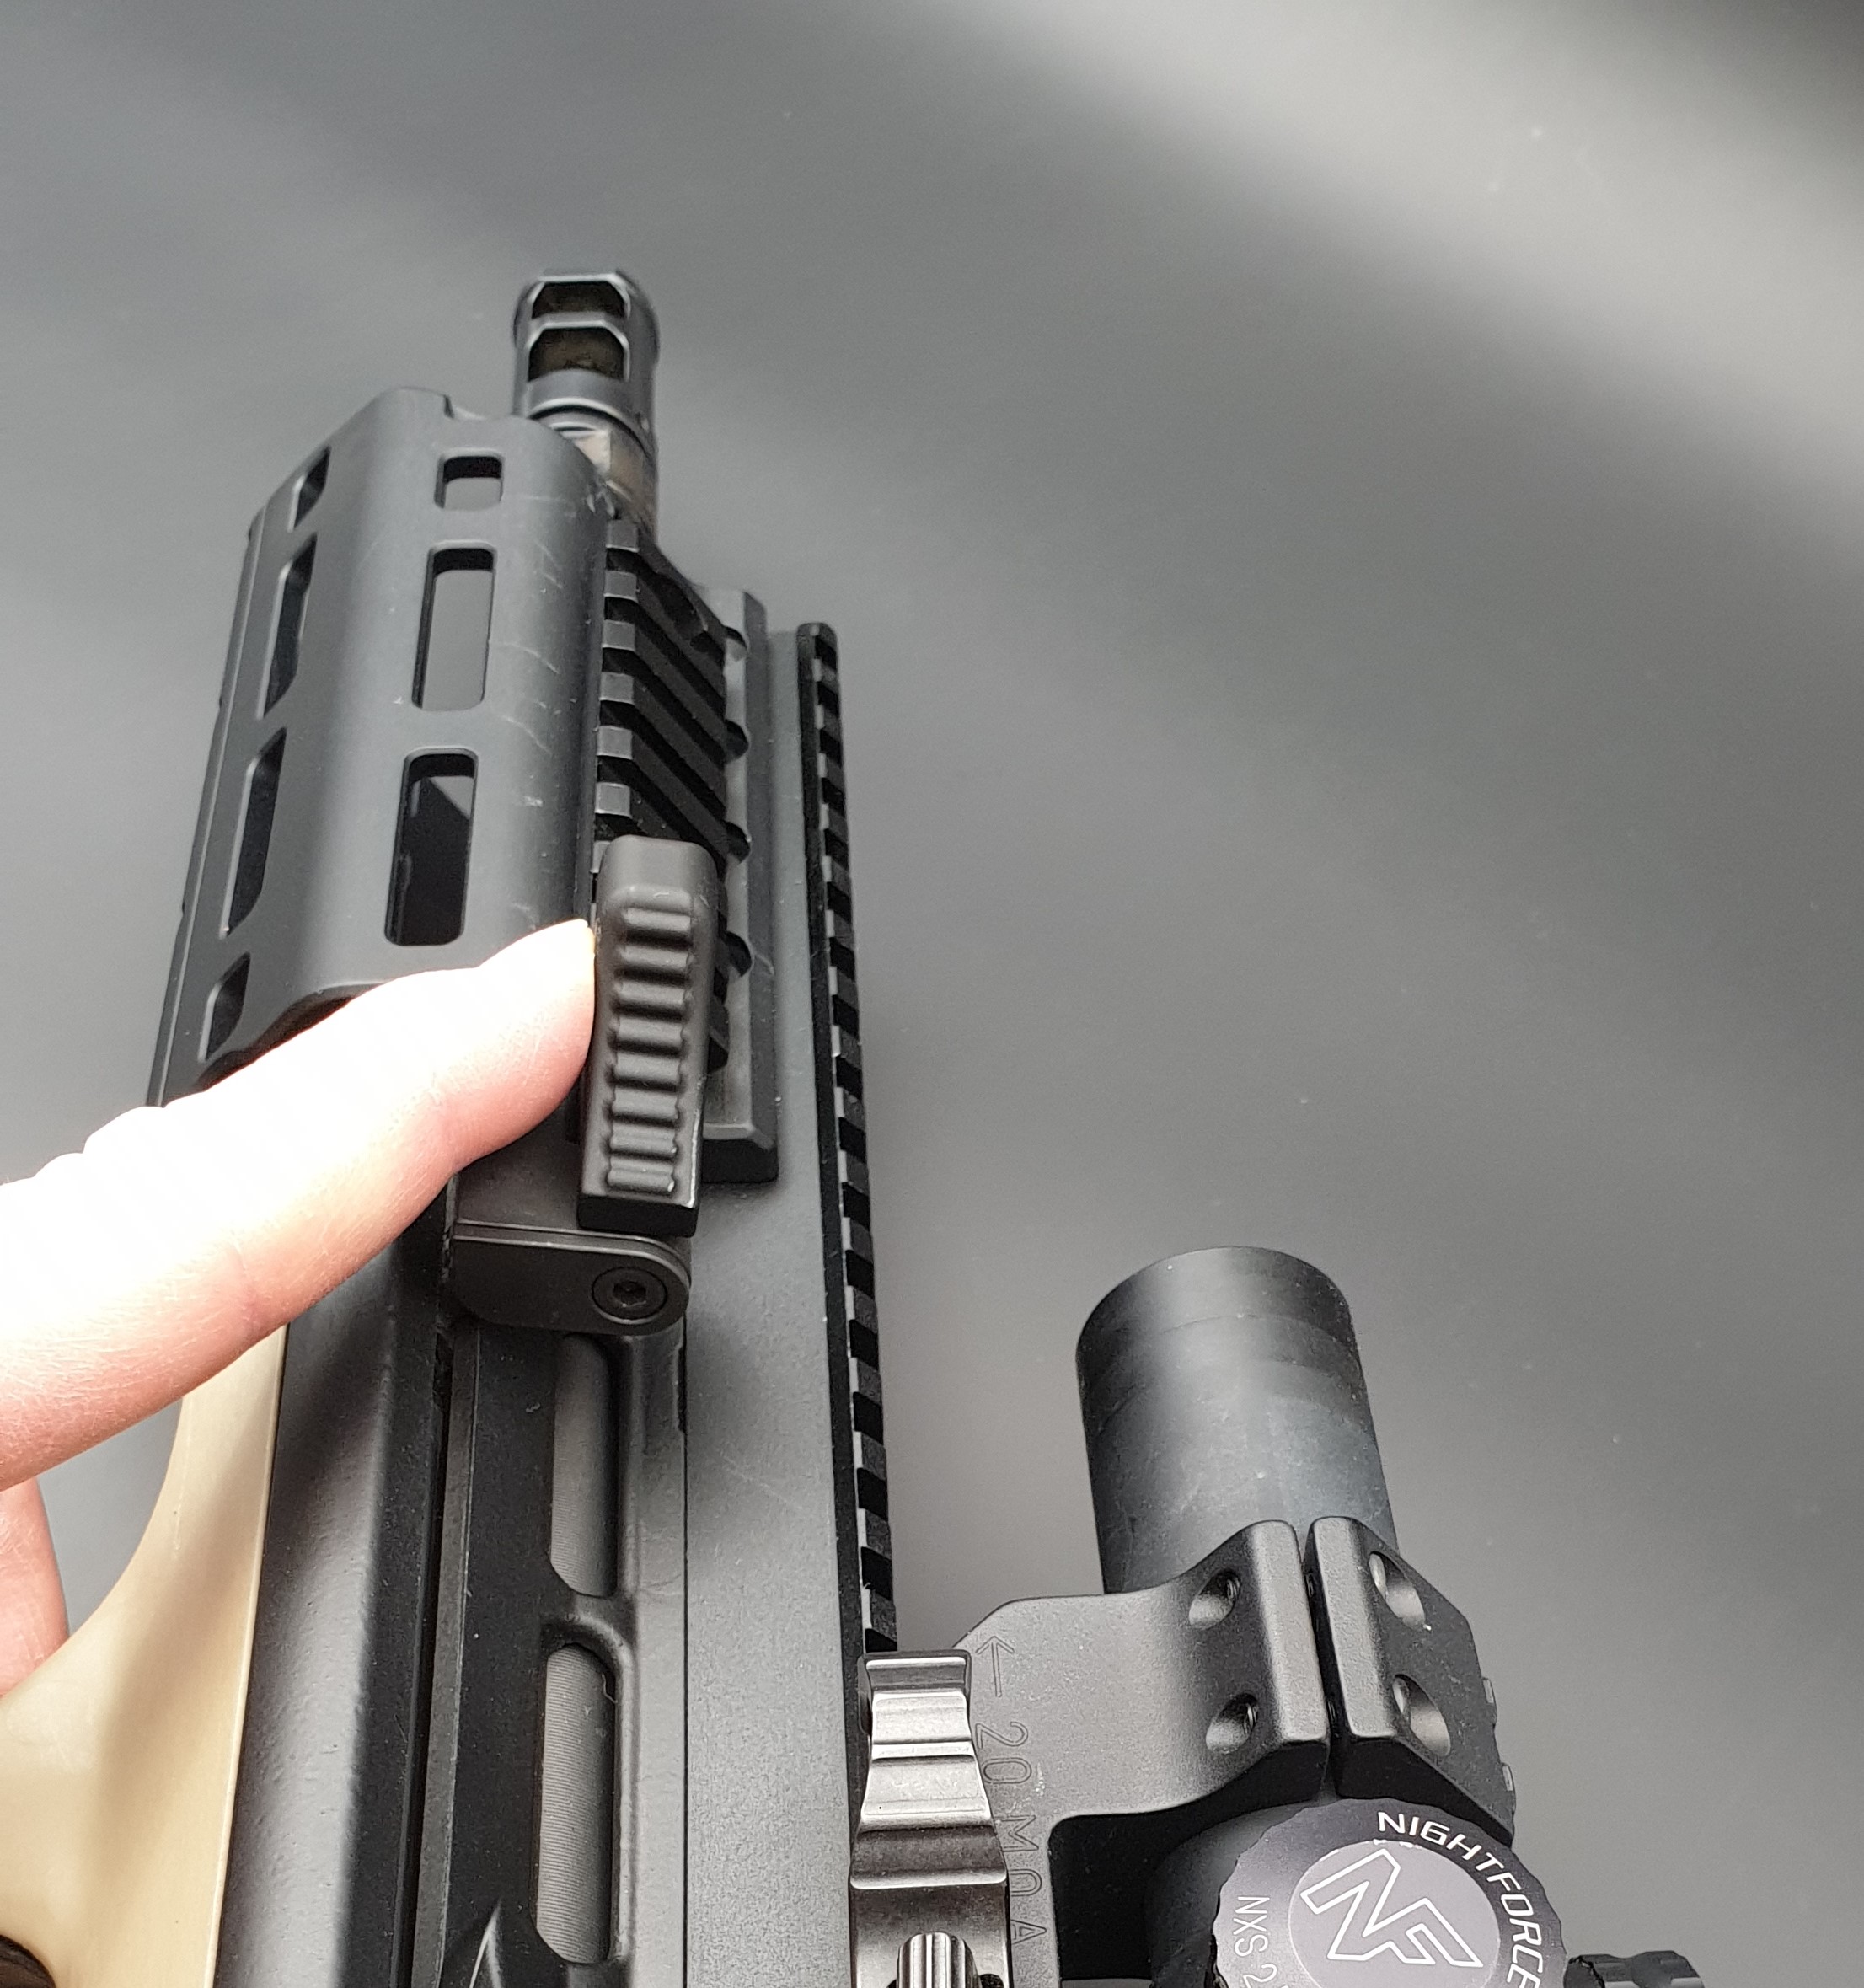
- Advantegeous when using sights with wide mounts
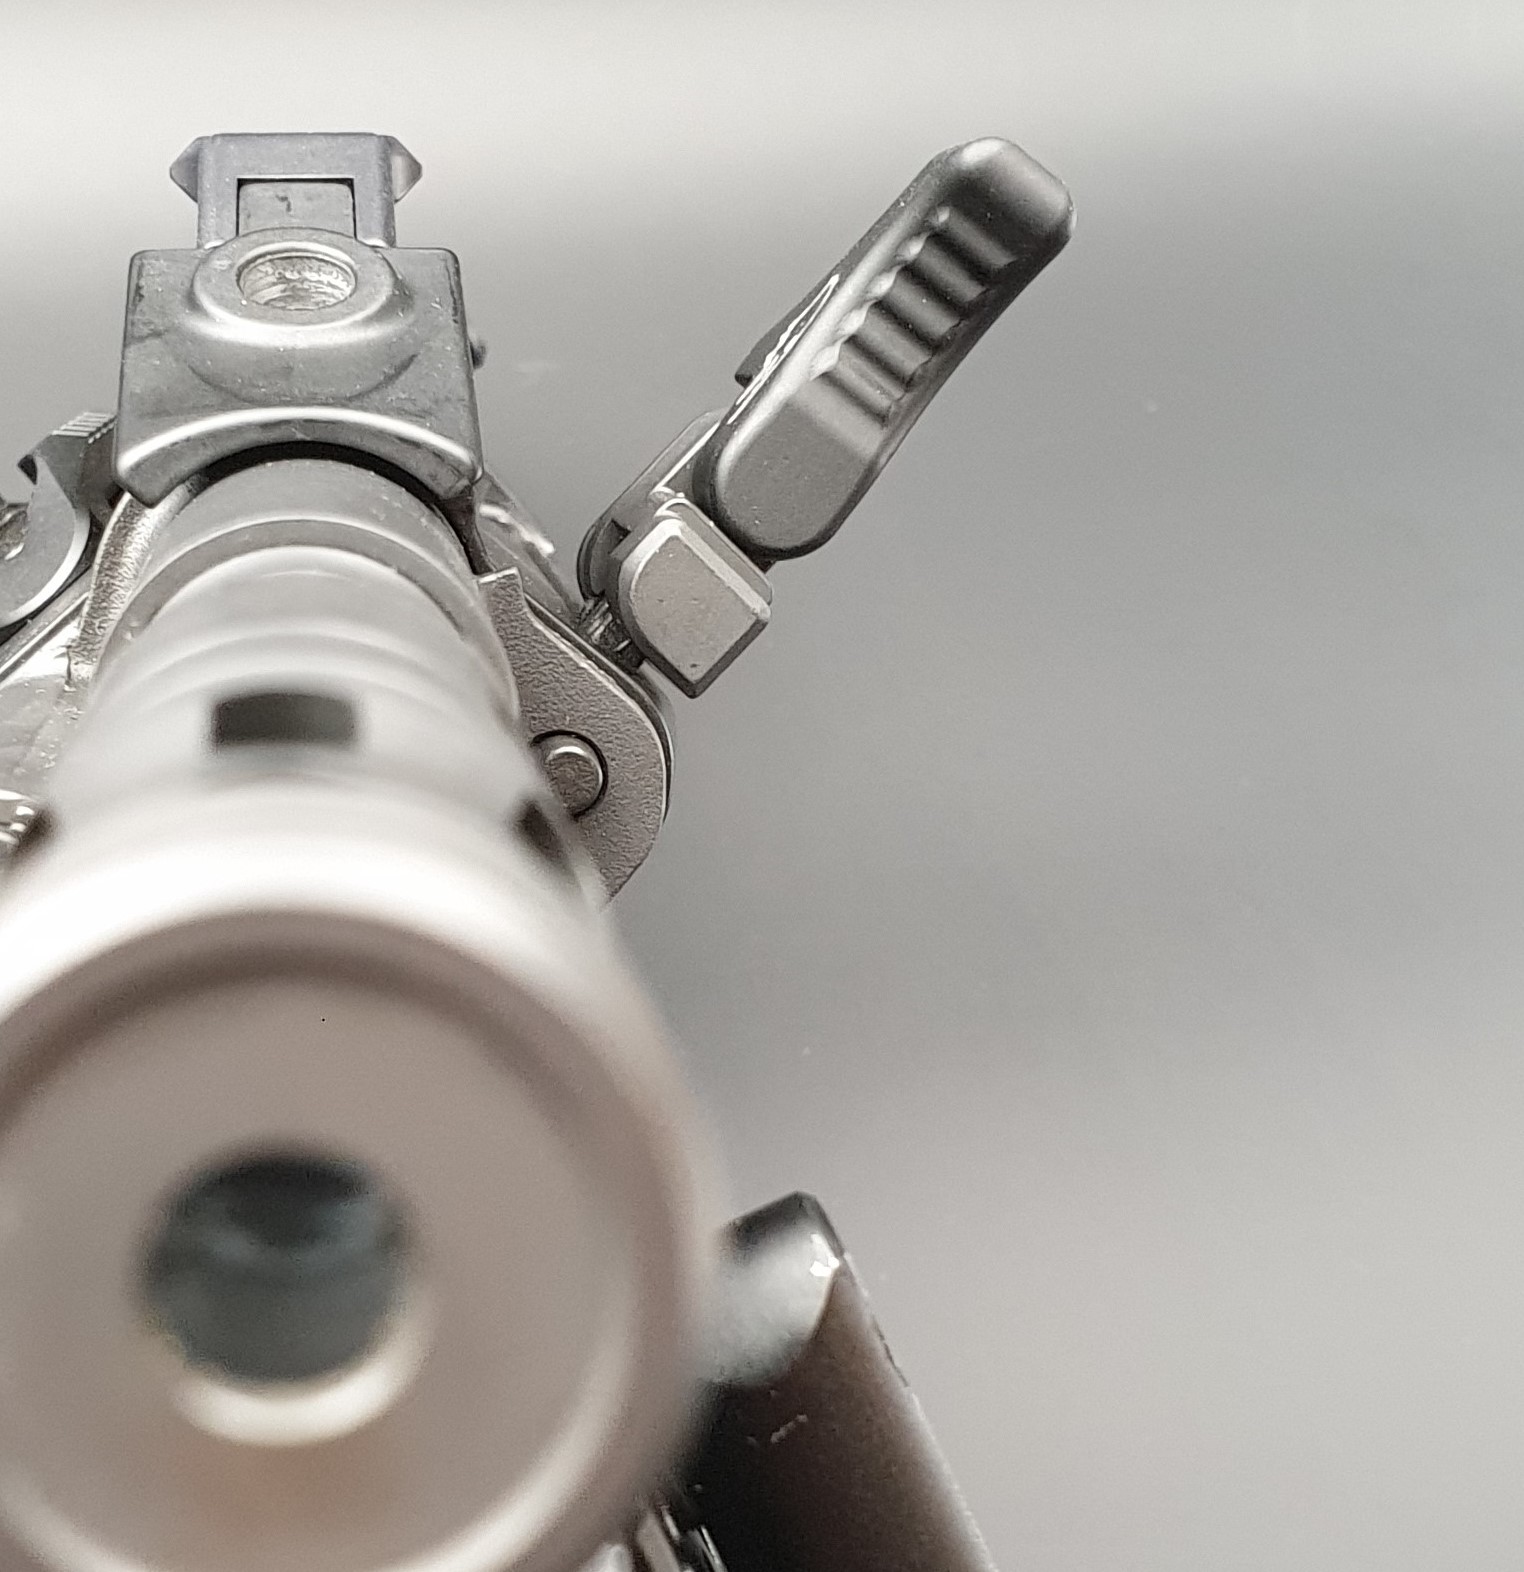
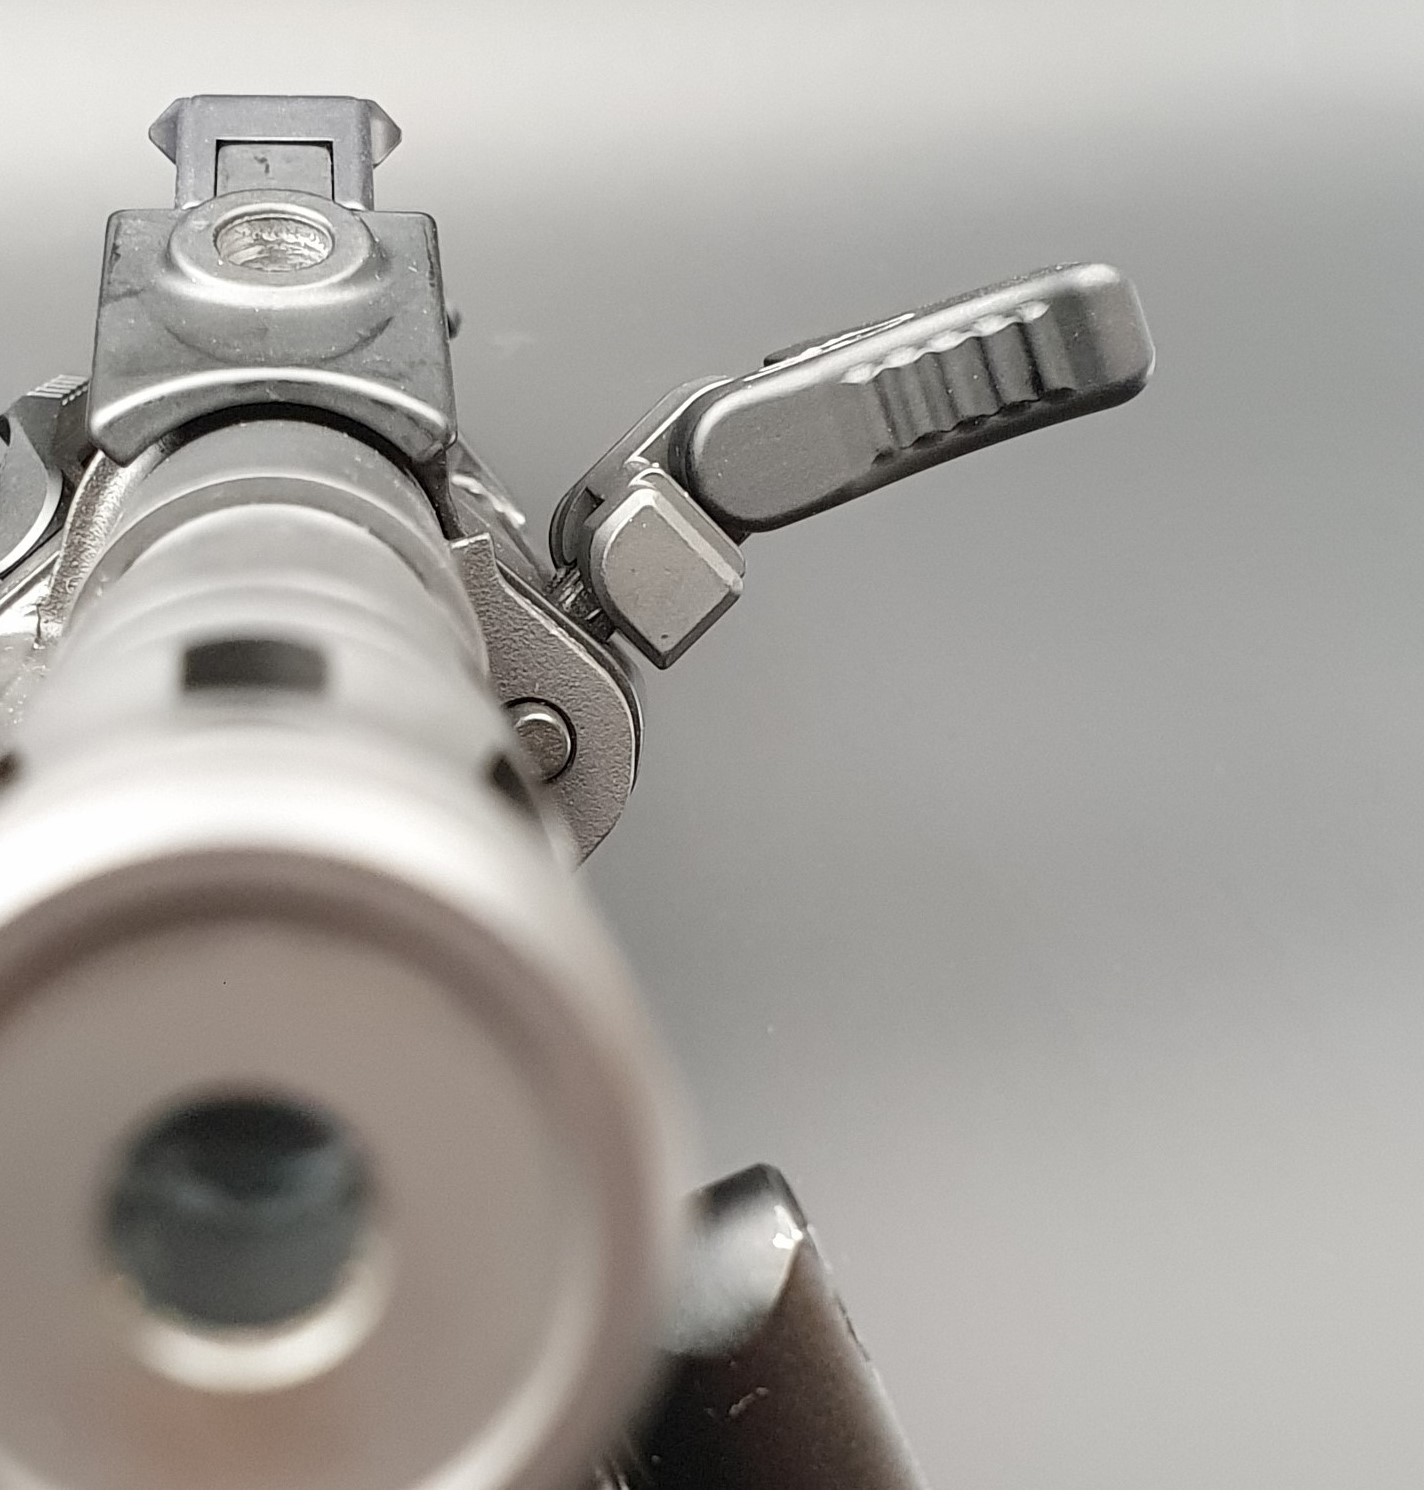
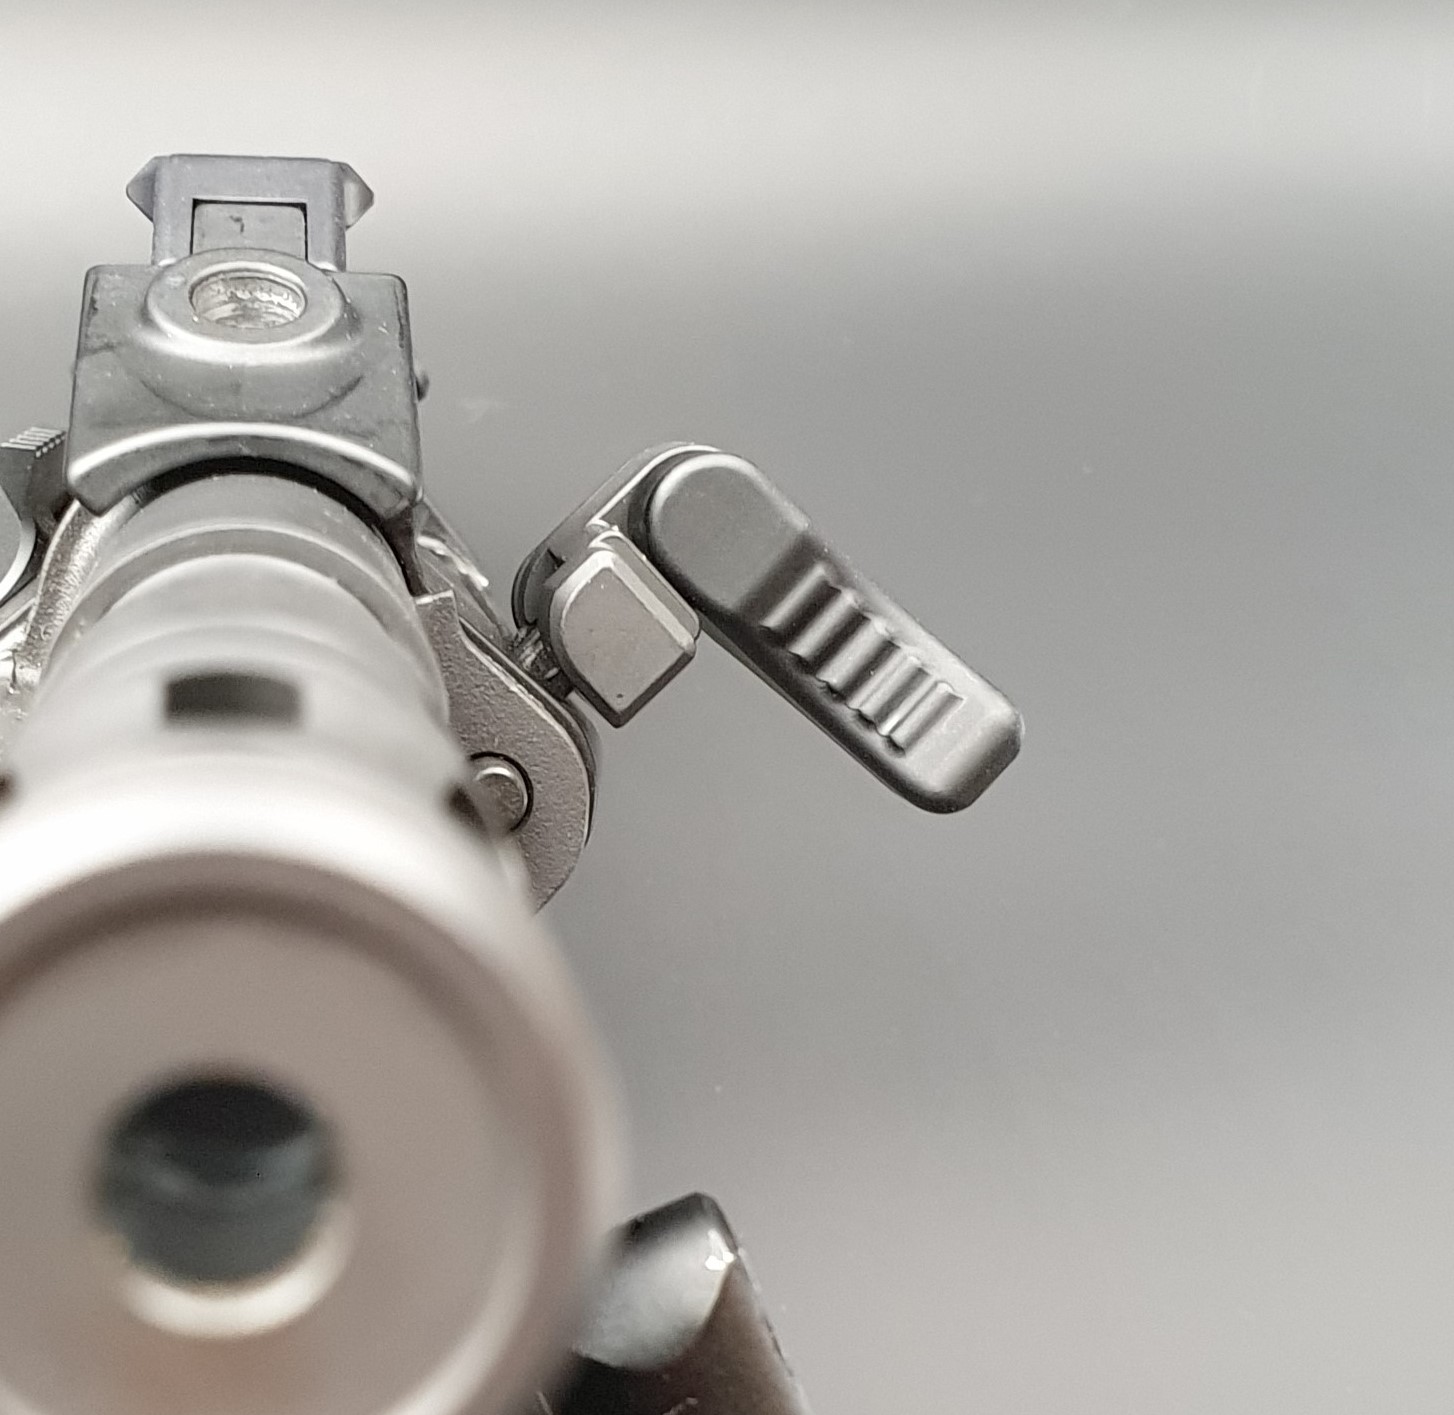
- Angle of charging handle steplessly adjustable
- Several hand postions possible without risk of injury
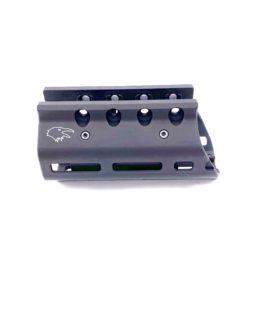
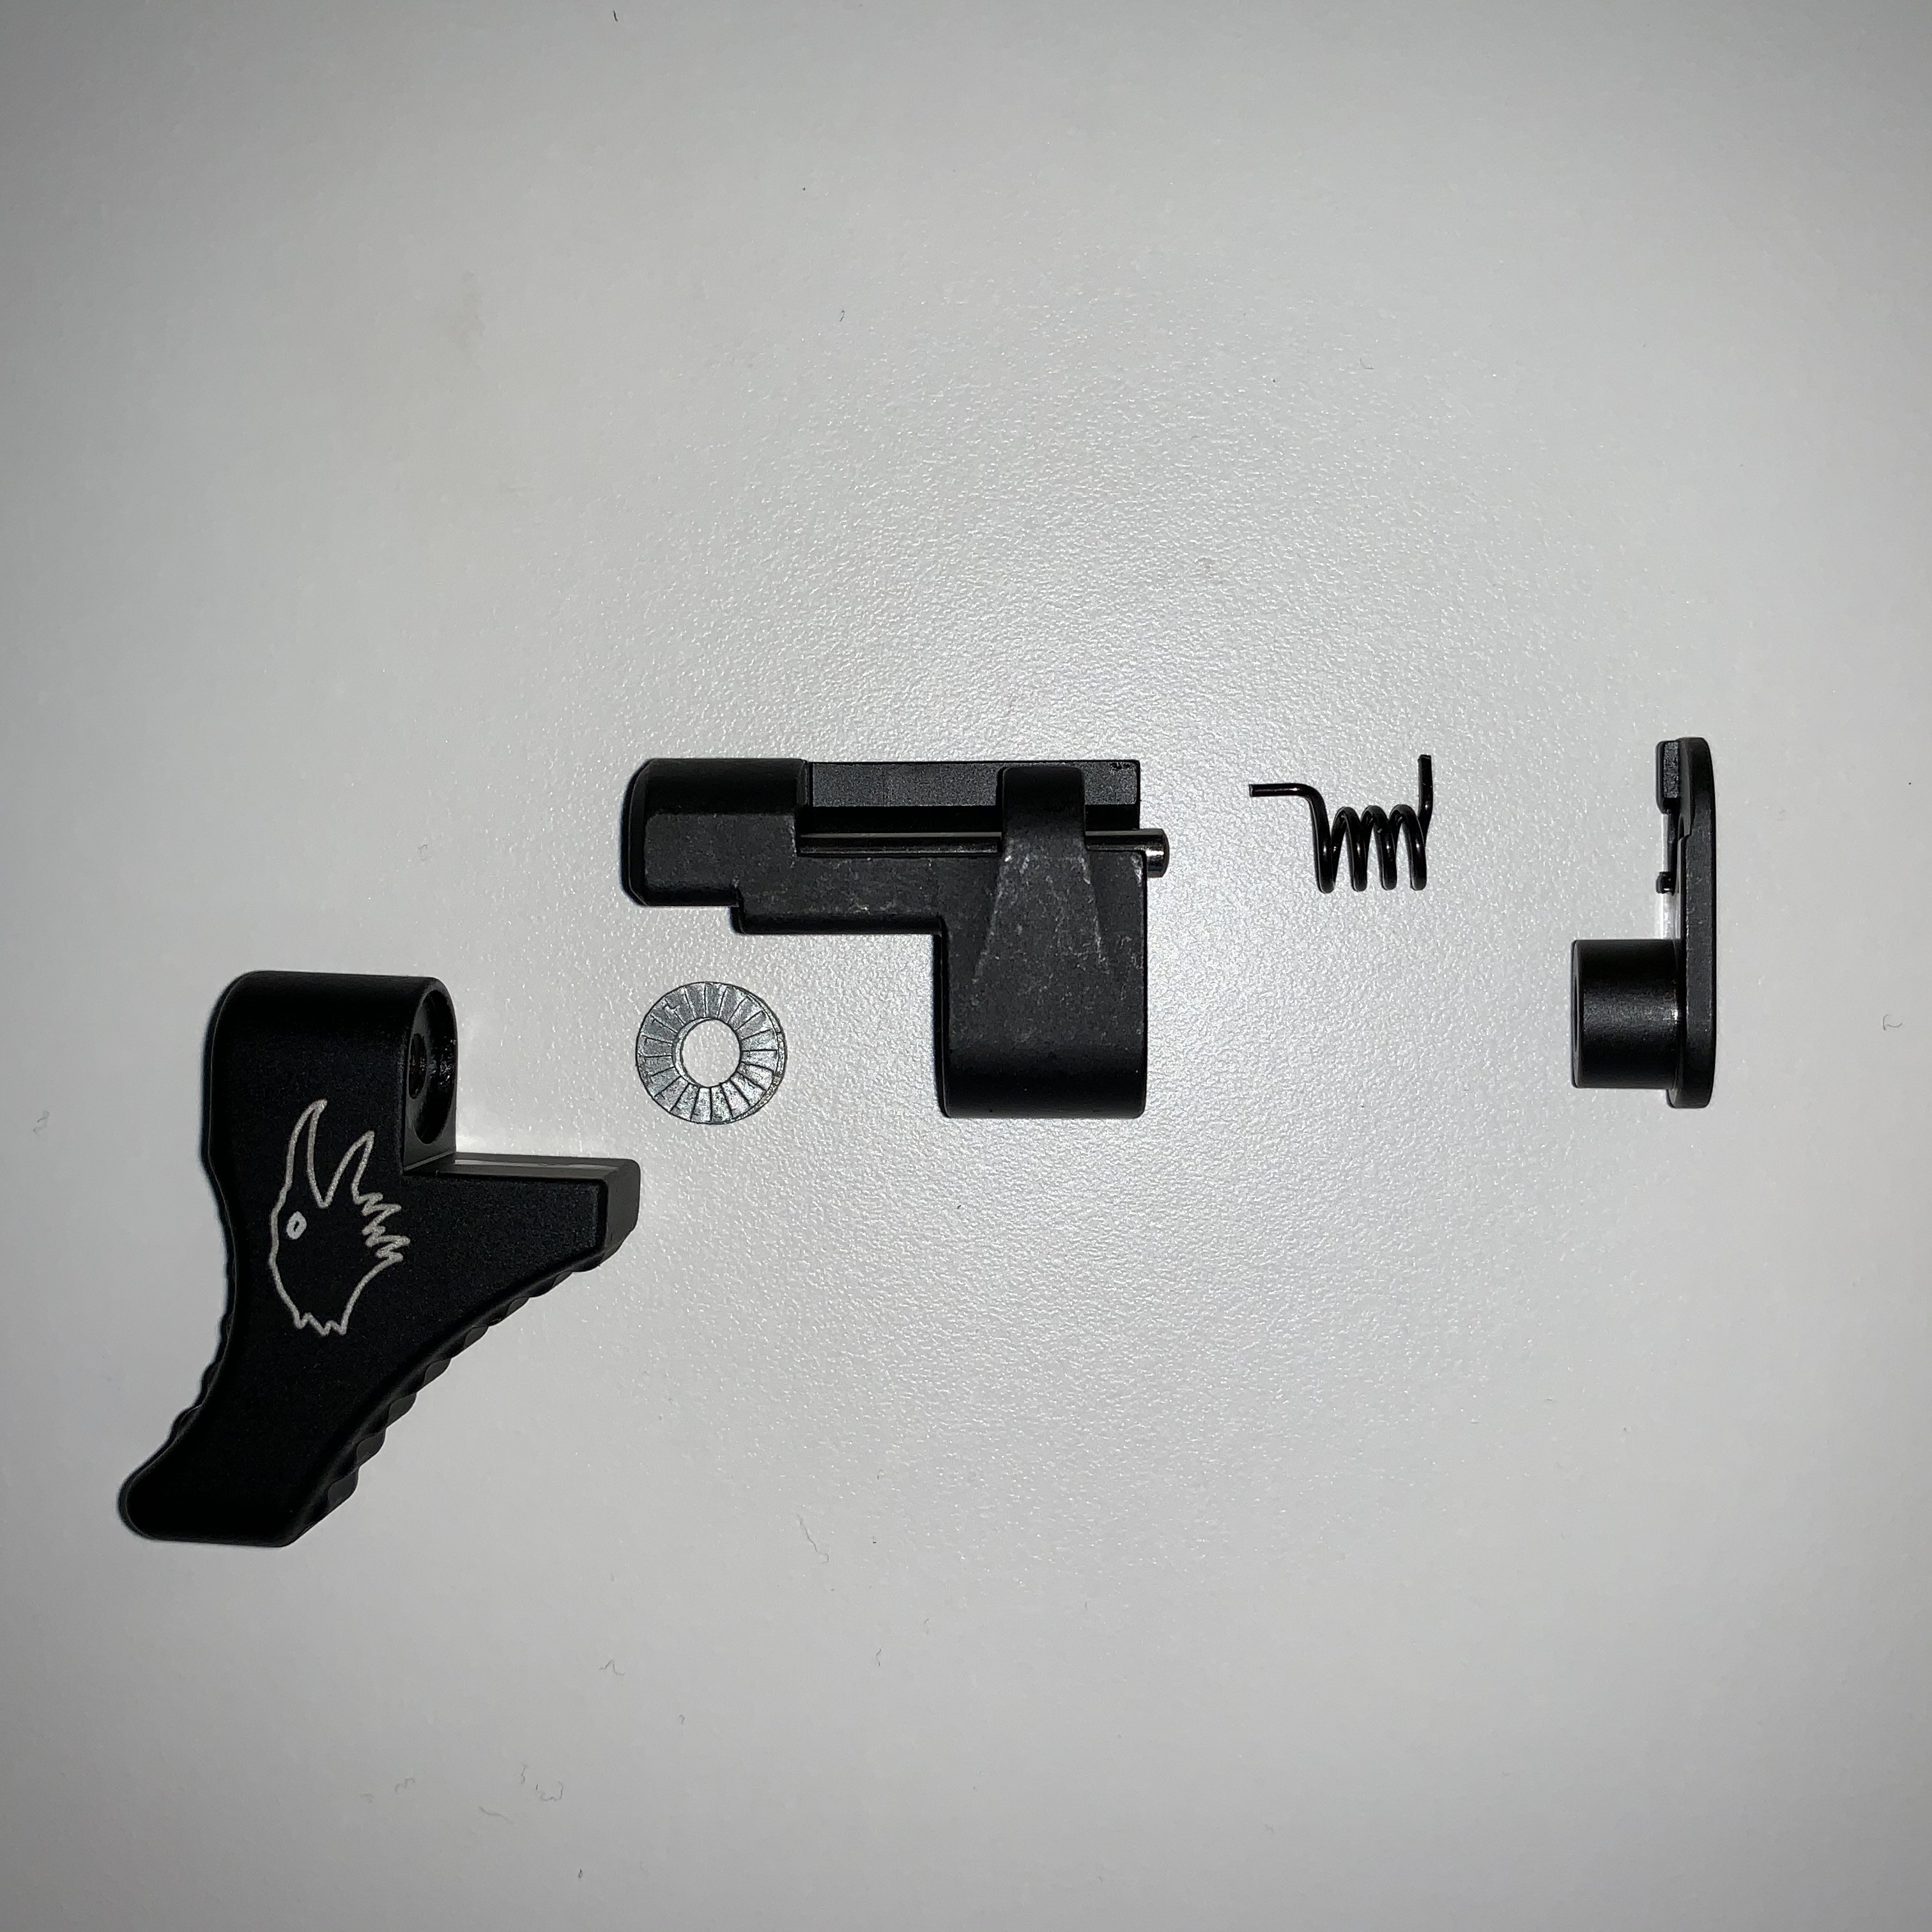
- Charging handle manufactured from hard anodized 7075 aluminium
- Base manufactured from coated steel
- Length: 32 mm(1.26″), Width: 45 mm(1.77″), Height: 10 mm(0.39″)
- Weight: 43 g(1.52 oz)
Description:
The adjustable charging handle from Corvus Defensio helps to make the charging operations and the techniques for resolving jams faster and more reliable. In addition, it´s use minimizes a possible risk of injury to the hand, which can be the case with the original charging handle in conjunction with wide optic assemblies.
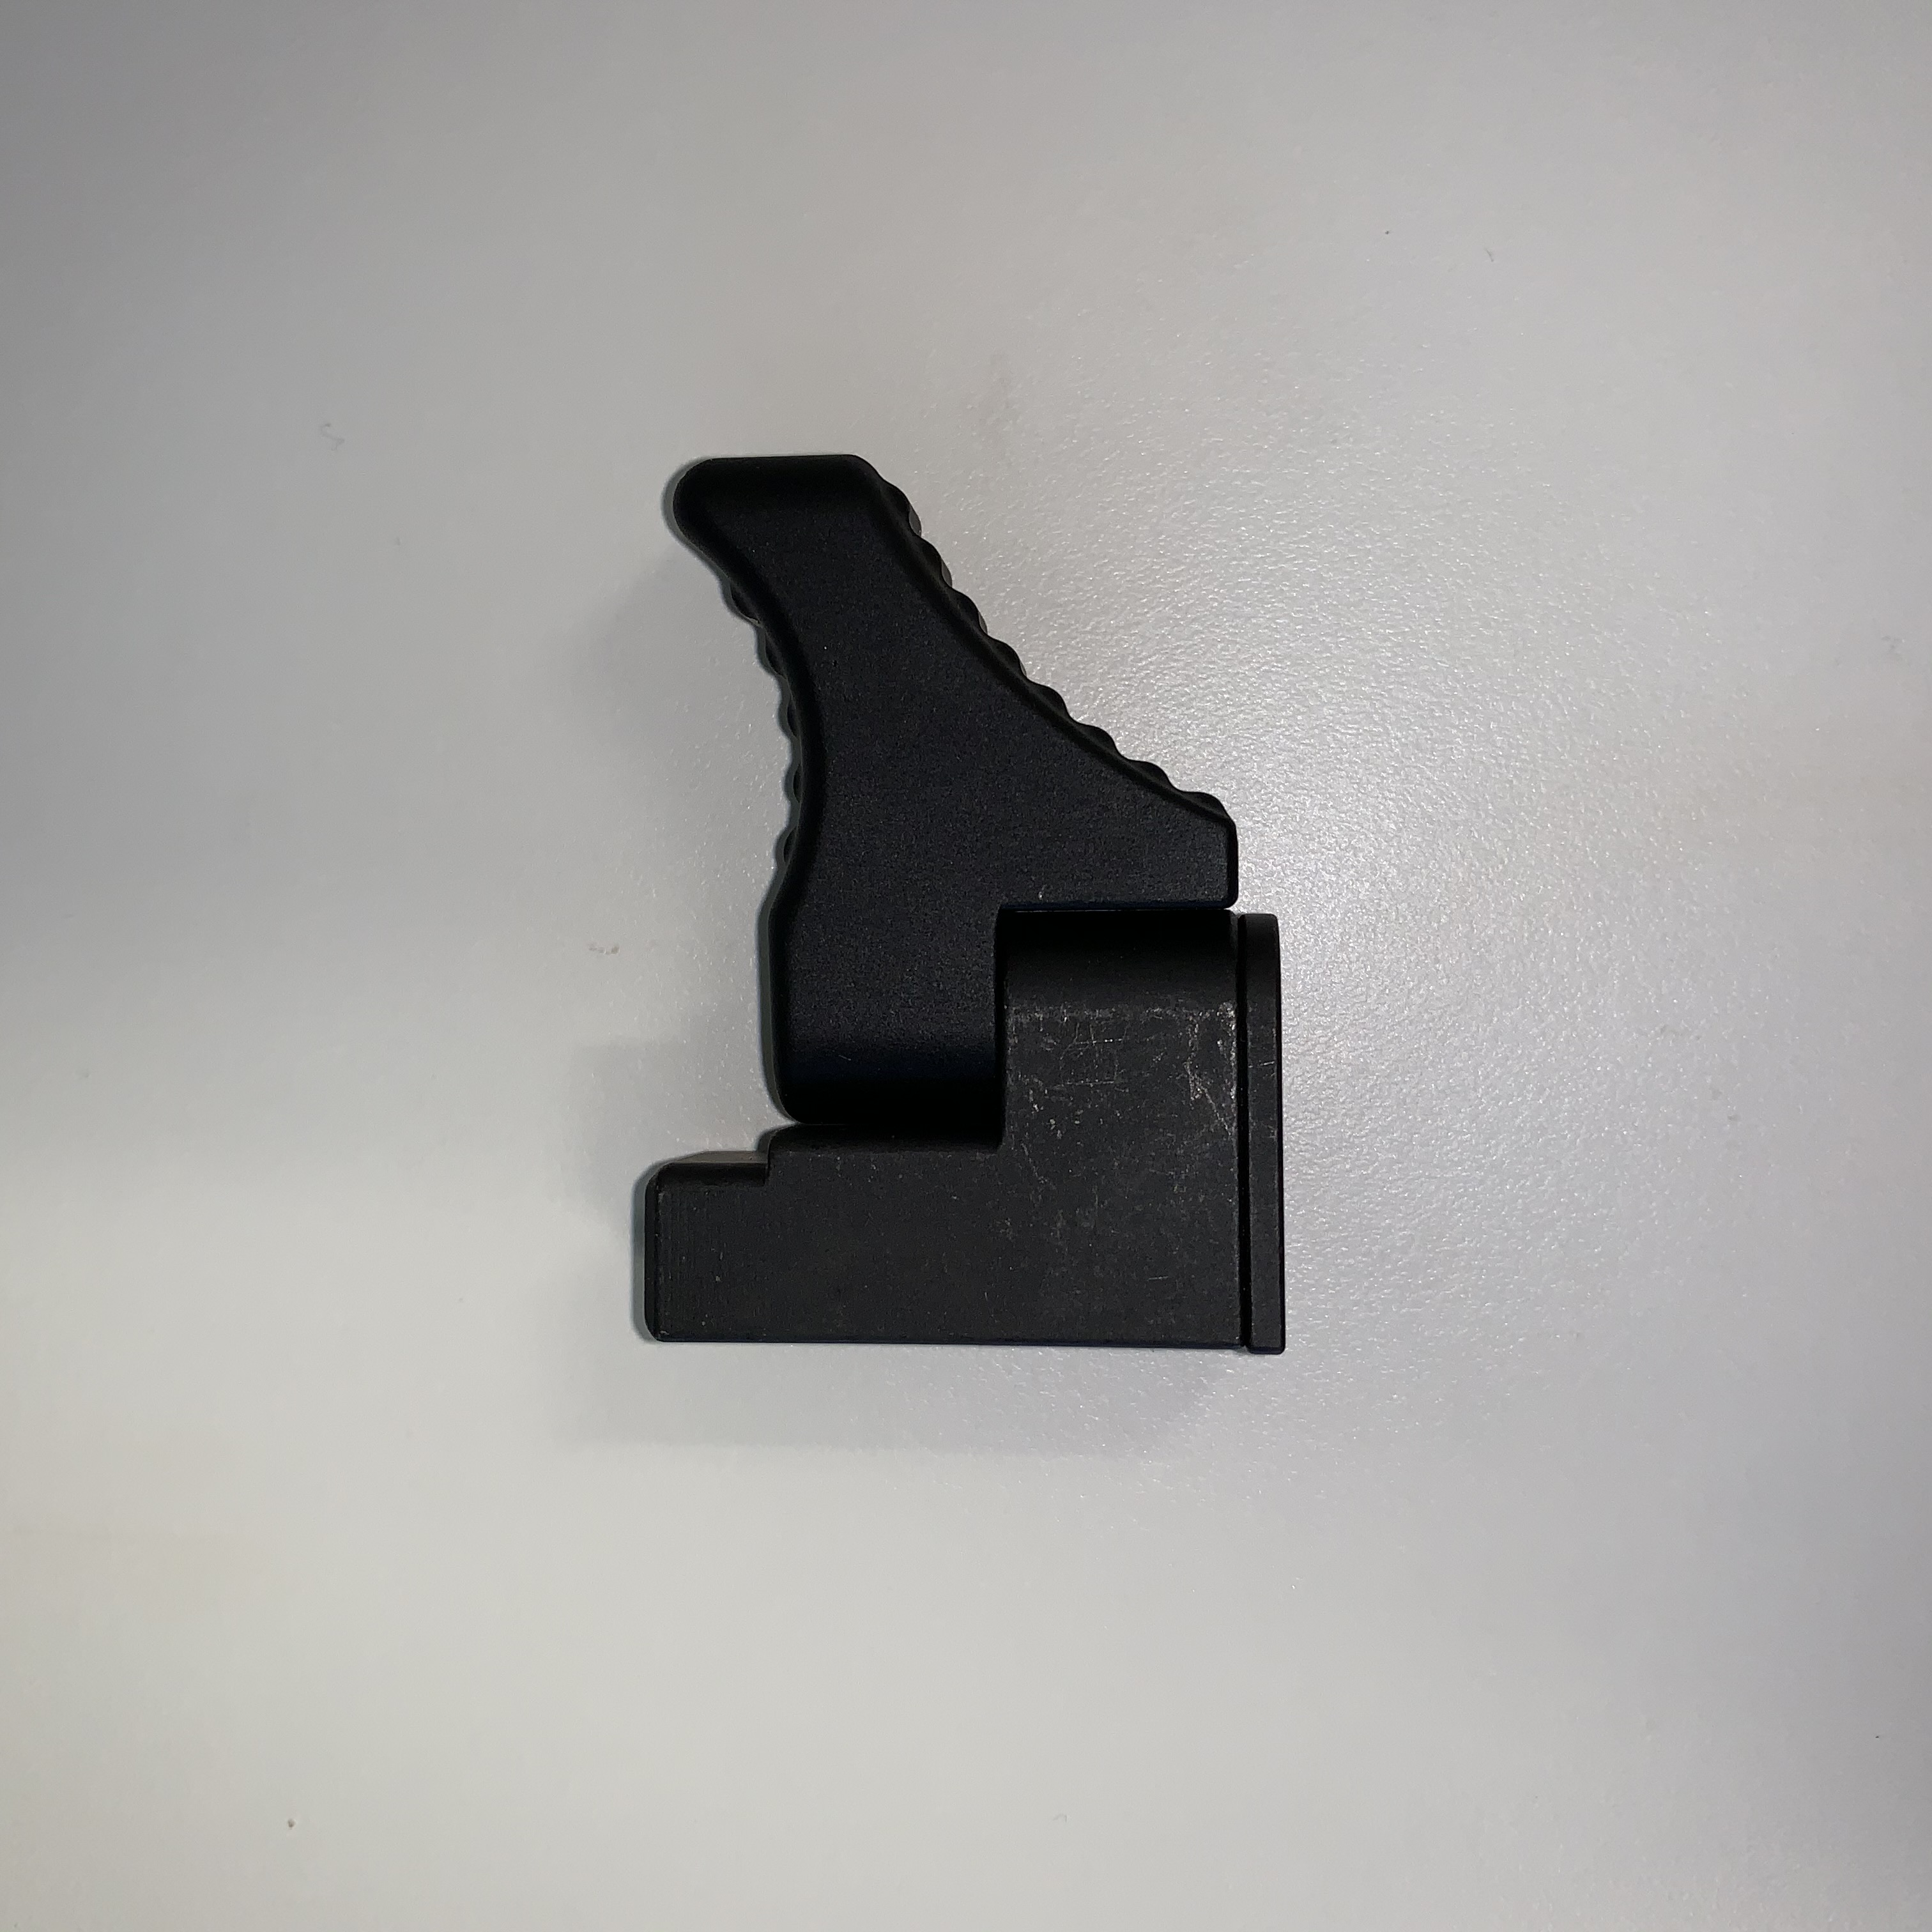
The original charging handle of the A0, A1 and A2 series are not flippable. The handling of these grips is good, but in some cases the charging handle can break off more easily if the weapon falls on a hard surface. One wanted to minimize this risk with the A3 cocking slide handle, which is why it can be safely flipped to the side against spring resistance. The shooter notices the disadvantage of this when he tries to snap the charging handle into the rearmost position by snapping it into the housing. The wobbly mechanism sometimes deceives the shooter about the actual position of the base, whether it is snapped into place or not, and the charging handle or the bolt assembly snaps forward again. This can pose a number of problems. Even the angle of the original charging handle is not optimal for AUG variants with Picatinny housing rails if sights or other accessories are mounted on the rail that have wide assemblies. It is very easy to injure your hand during quick repetitive movements.
Corvus Defensio´s goal was to solve all of the above problems with the adjustable charging handle and develope a product that combines all the advantages.
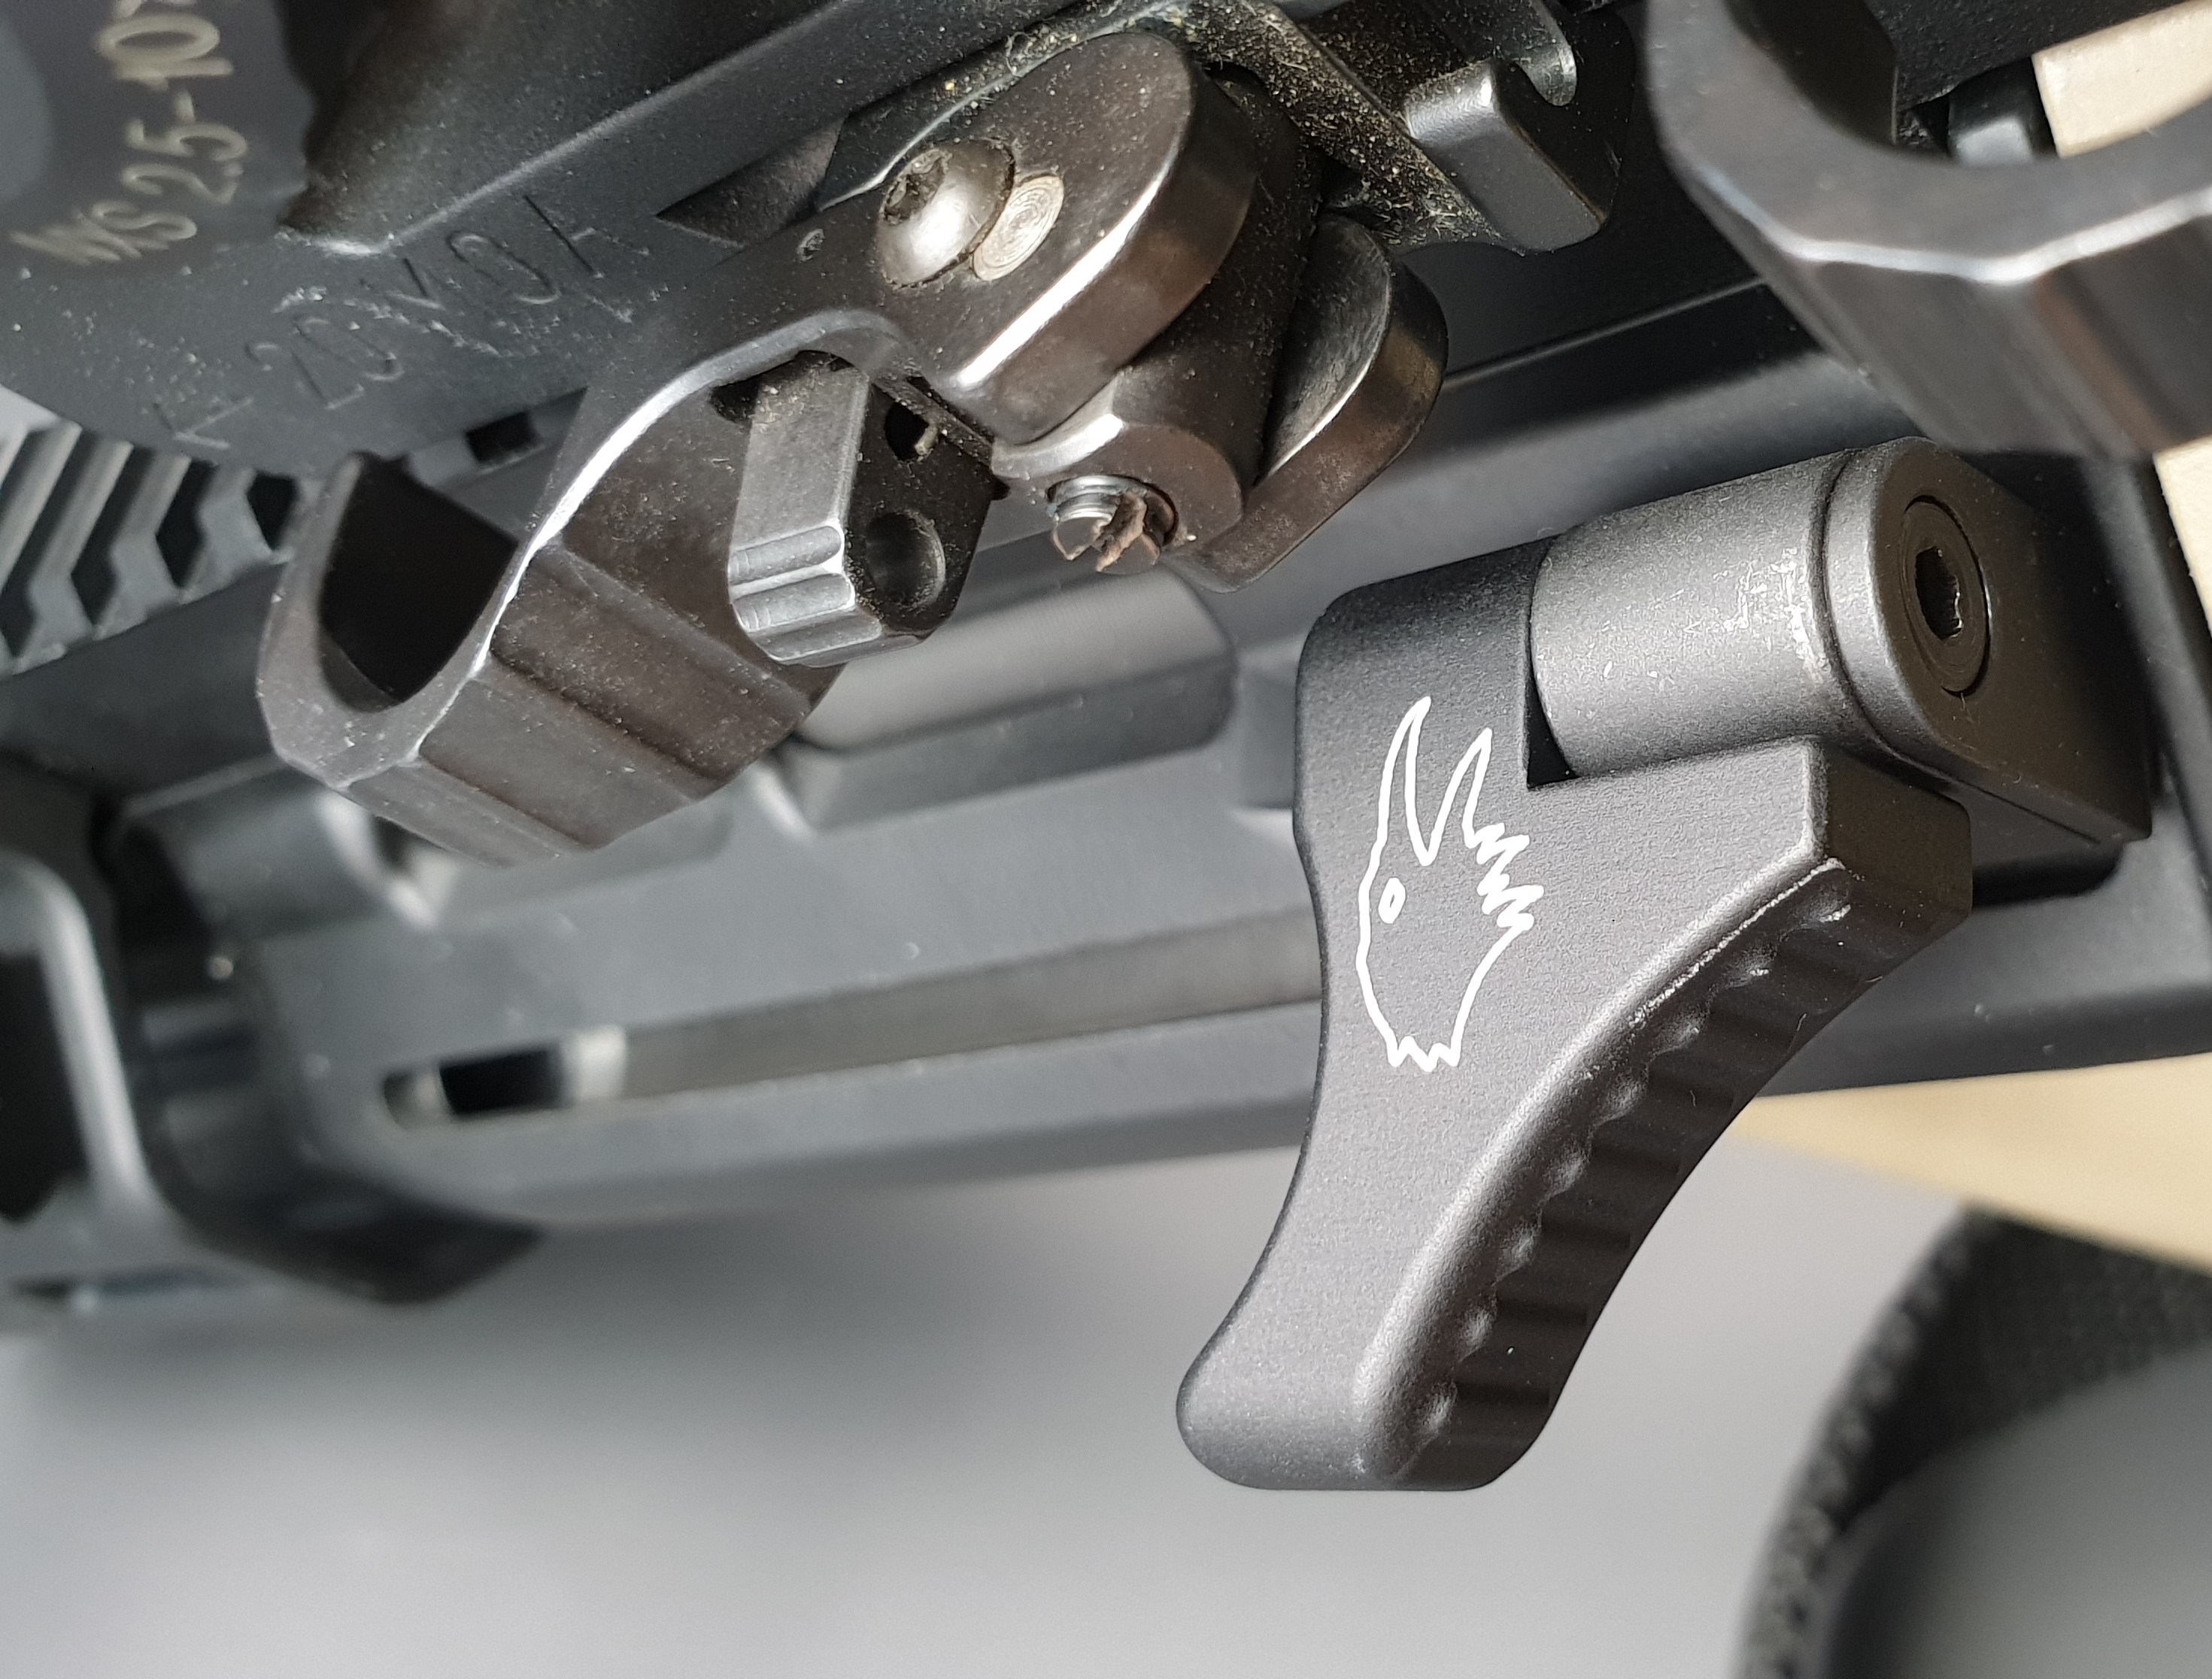
The adjustable charging handle can be flipped in the frontmost position like the charging handle of the AUG A3 towards the receiver to minimize the risk of breaking off in the event of a hard impact. However, as soon as the shooter pulls the charging handle to charge the weapon or to put the bolt assembly in the rear position, the handle can no longer be flipped. This function ensures a safer and faster charging operation and a more reliable engagement of the charging handle in the receiver. The second feature of the charging handle is the adjustability of the angle. The charging handle can be adjusted and fixed by the shooter at an angle of more than 100 ° at any time by loosening the screw connection. The toothed washer prevents the handle from slipping.
ATTENTION: The forward assist function of the charging handle is no longer working when installing the adjustable charging handle from Corvus Defensio! Since the forward assist of the original charging handle is activated immediately when the handle is flipped down, the charging handle moves with the bolt assembly in this situation. This can lead to jamming and / or injuries. Corvus Defensio, not least because of the personal military experience of its employees and the low probability of it being necessary to use this feature, has dispensed with this function.
Assembly:
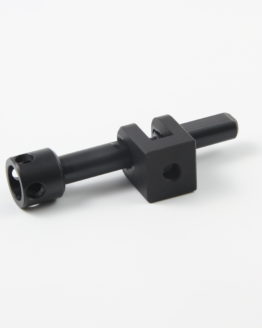
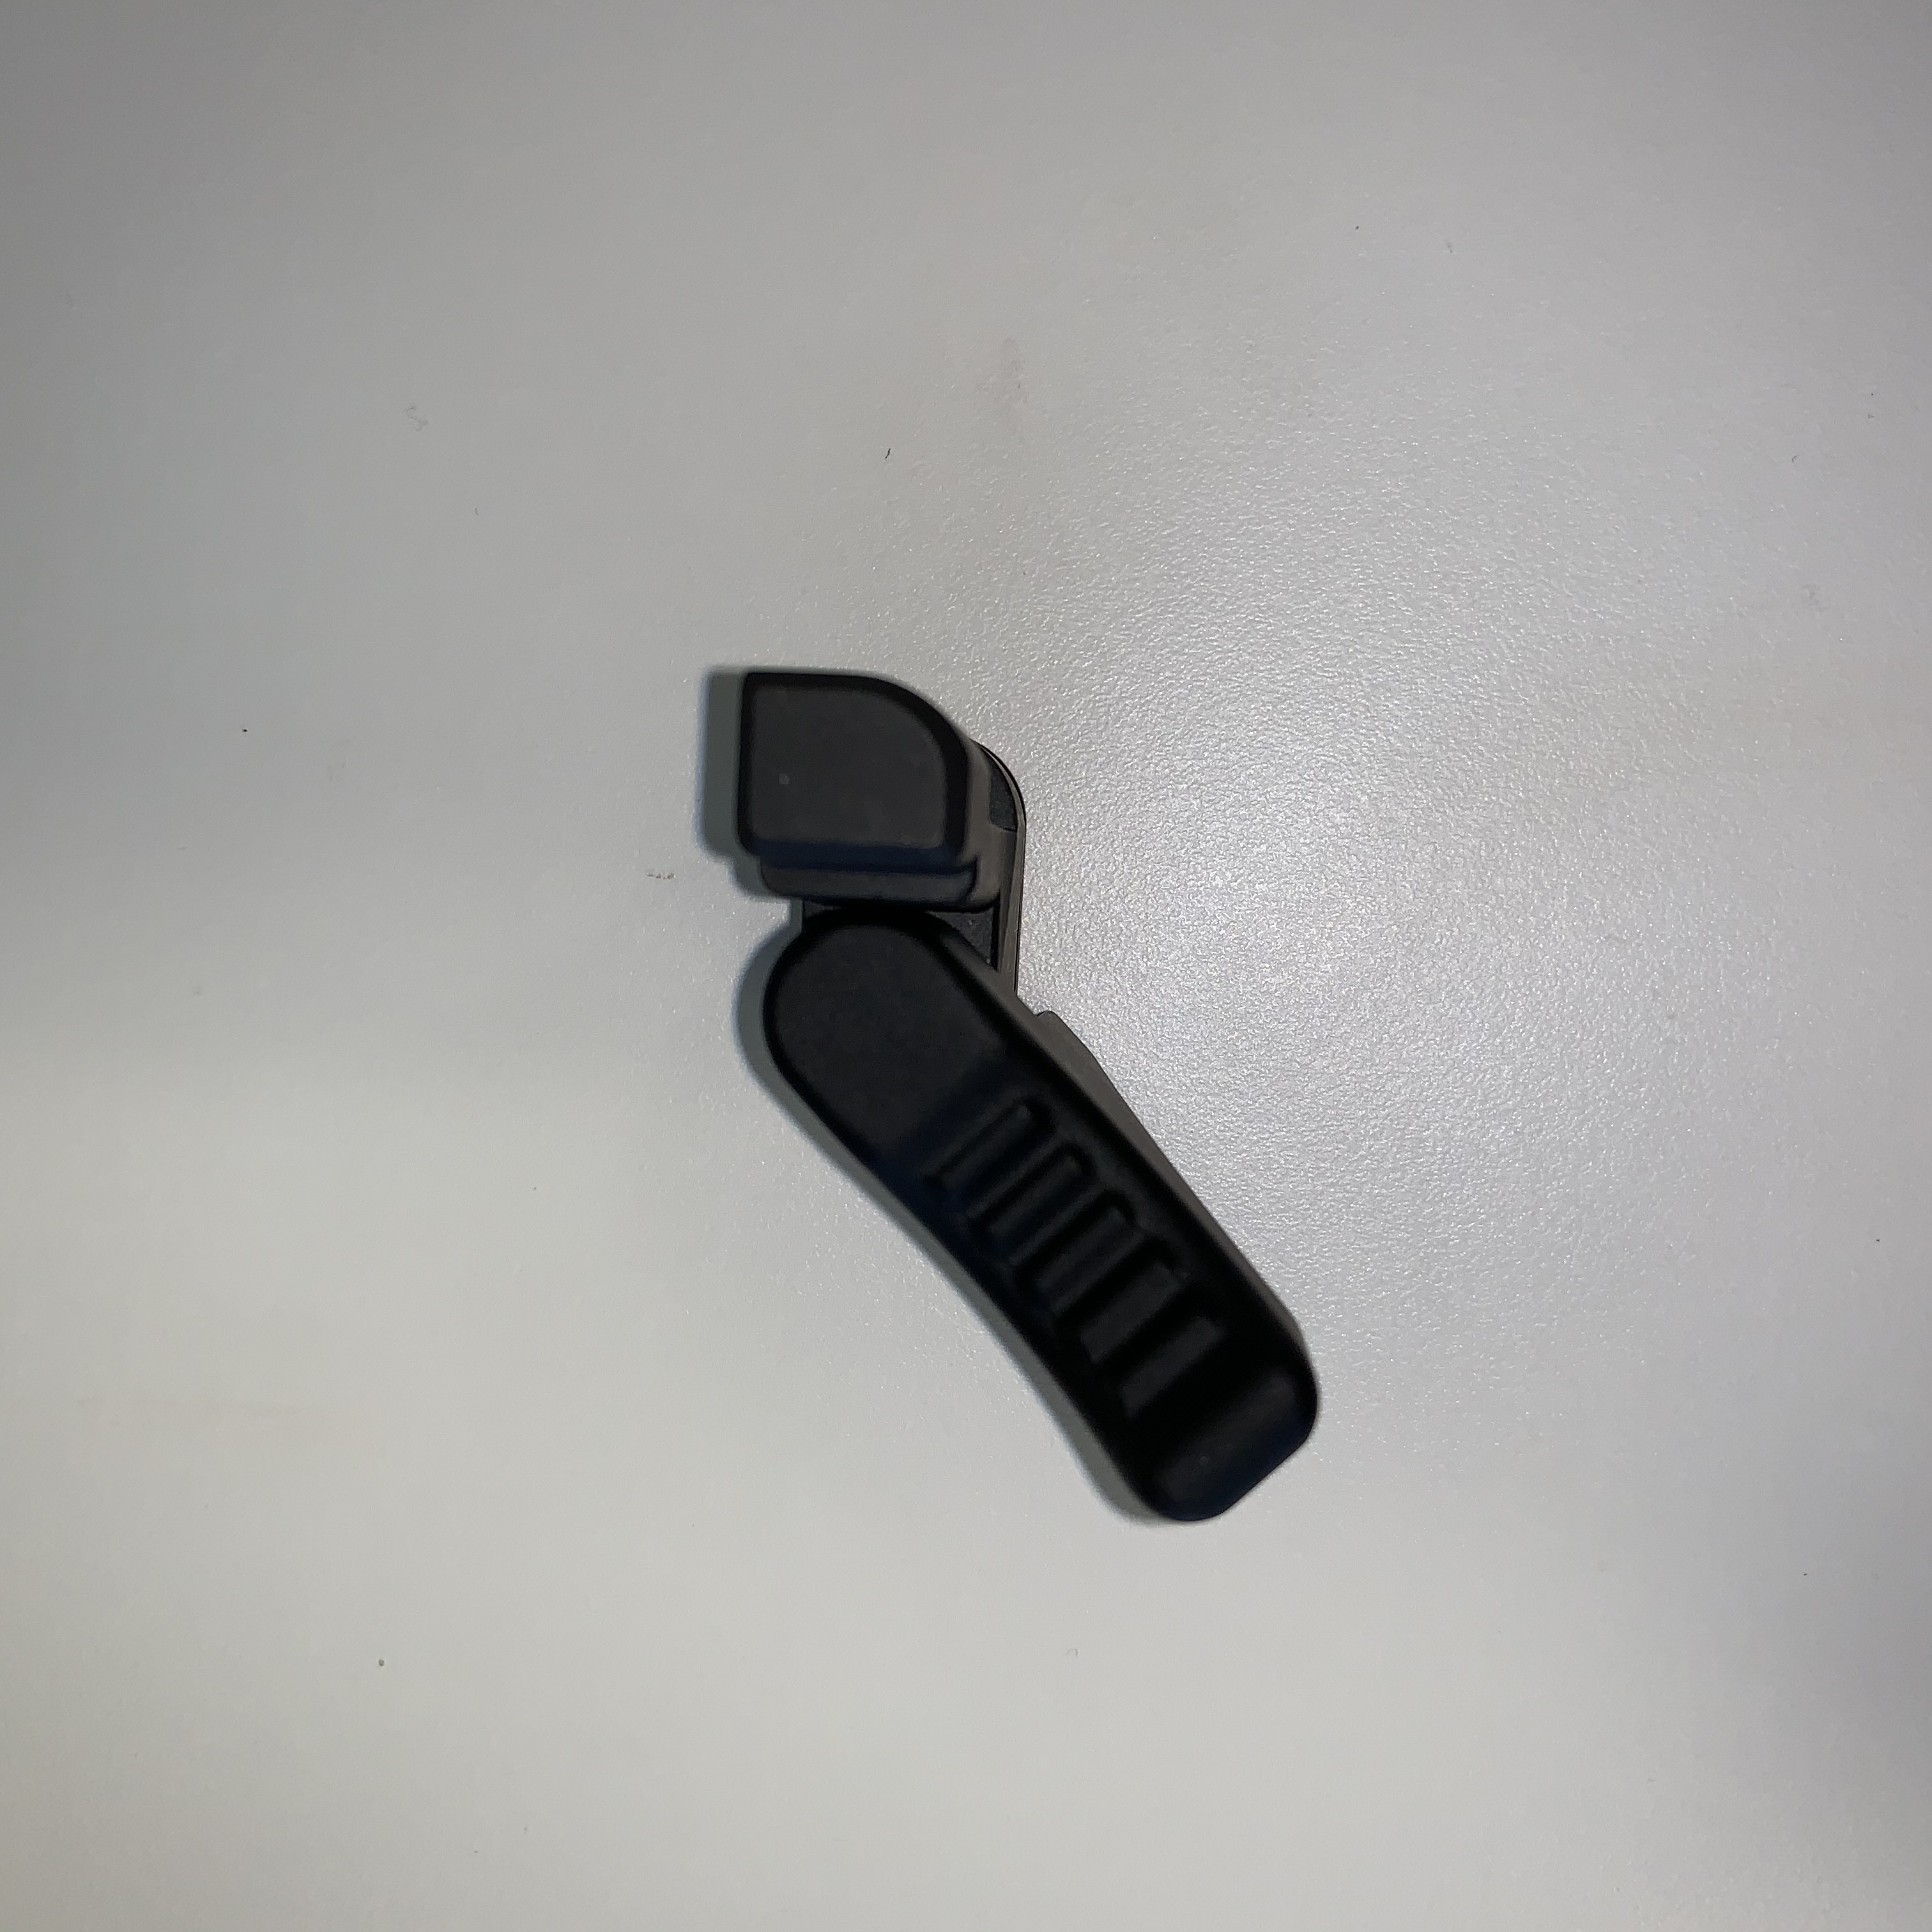
- Put a piece of wood (or similar) between charging handle and receiver and remove the pin with a hammer and drift (2,9 mm).
- The plastic handle and all the other original parts of the charging handle are not needed for the assembly of the Corvus Defensio charging handle.
- Use some threadlocker (medium) on the connecting screw.
- Place the pin in the base of the charging handle (no threadlocker needed).
- Slide the spring on the pin. Make sure that the part of the spring pointing to the side is pushed in the slot of the base.
- Pull/push the other end of the spring over the nob of the charging handle.
- Place the cover on the charging handle and slide the screw through.
- Put the washer disc on the screw, then adjust to desired angle and tighten.
Detailed instructions with photos can be found here.